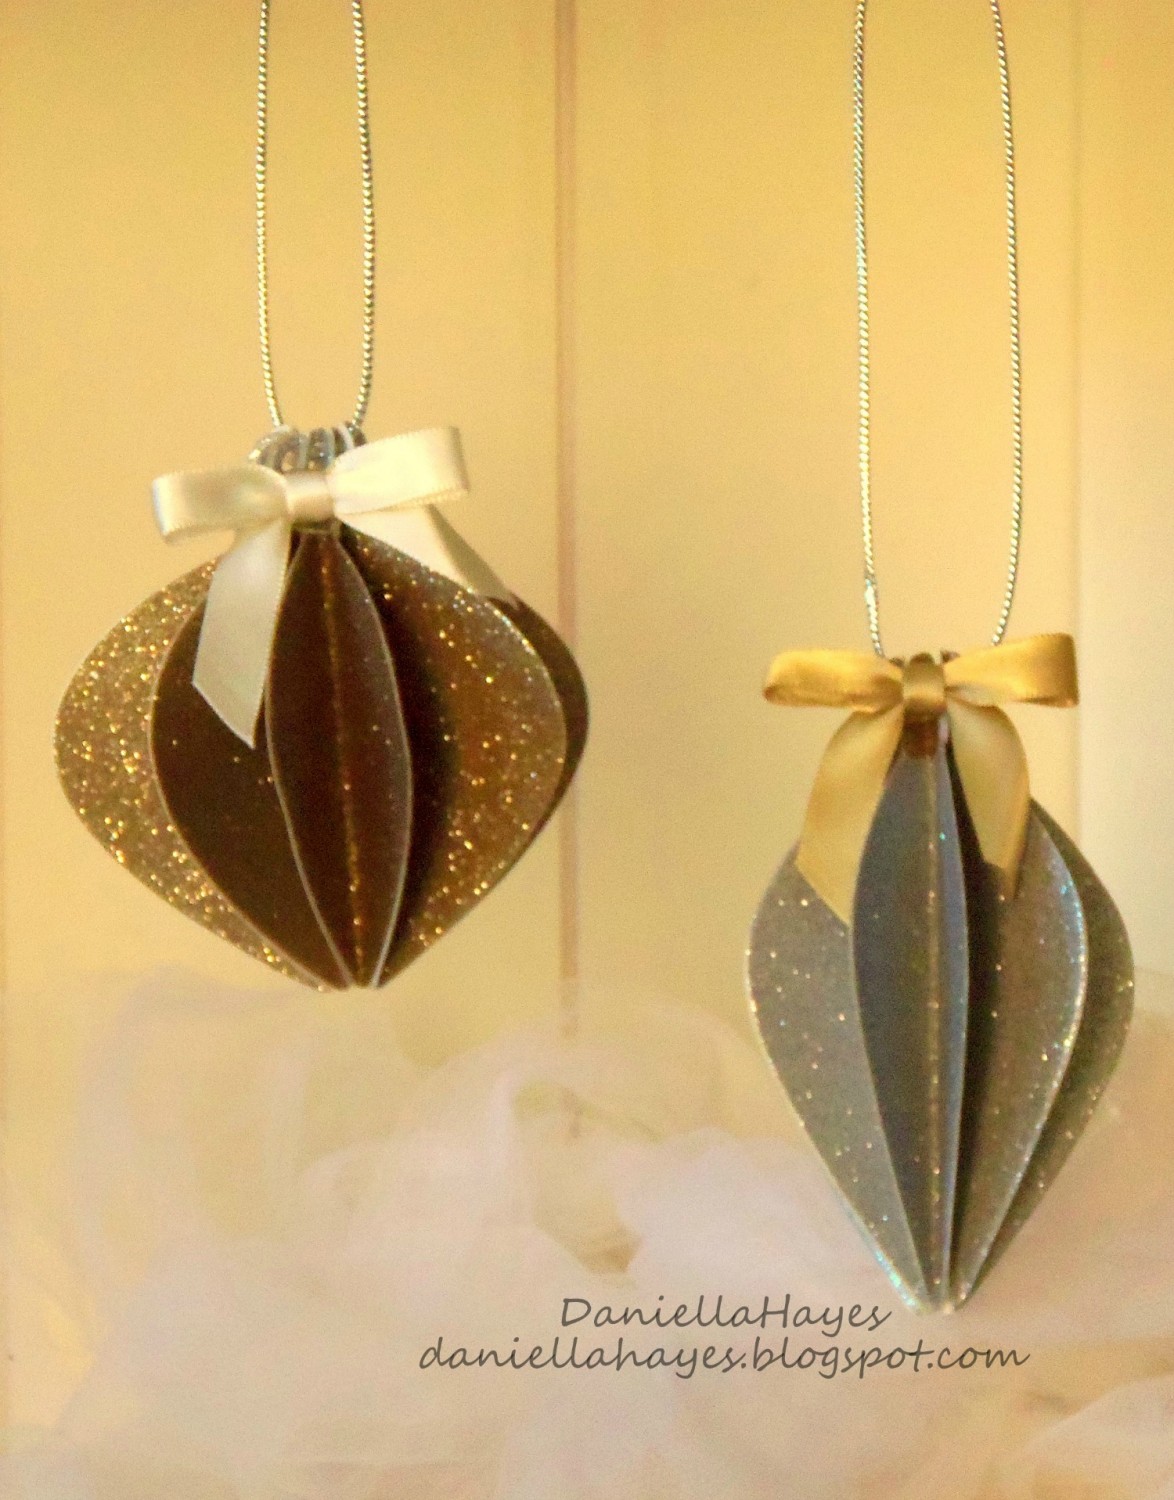
Hello and thanks so much for visiting! I have some super easy ornaments to share with you today! The theme this week for the Tombow blog is Christmas ornaments! Please check out the blog every day this week to get ornament inspiration!
I am absolutely in love with them! I've made 20 ornaments so far!! Here's how:
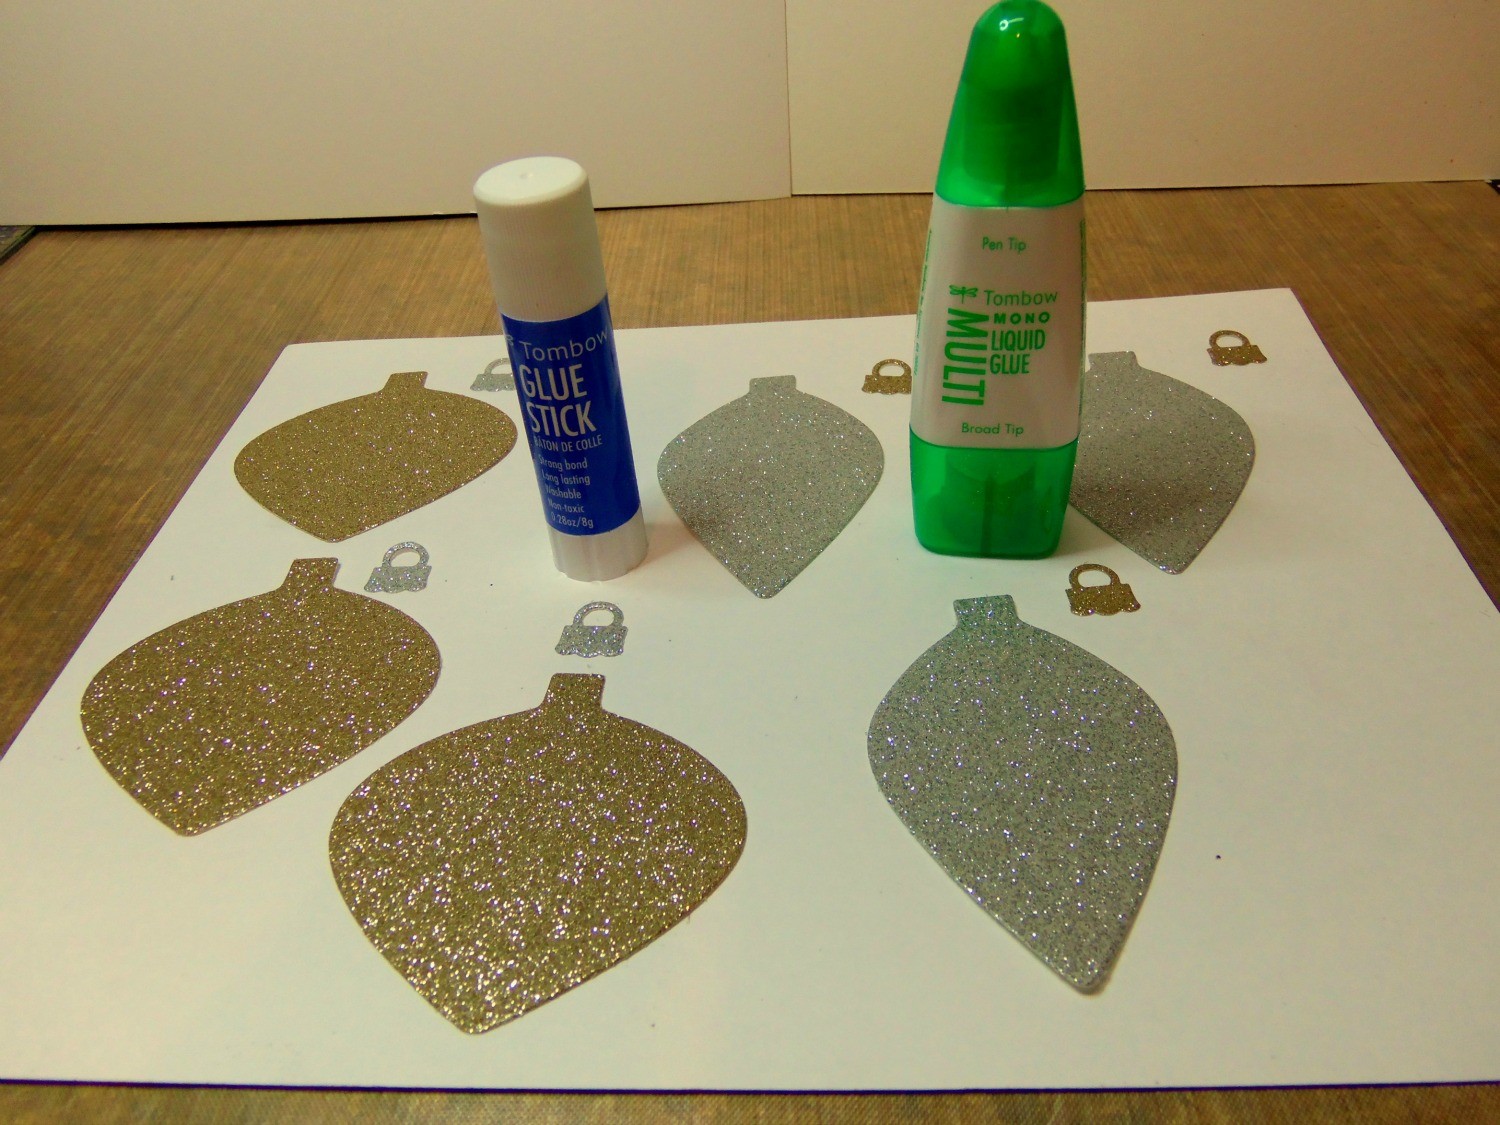
I cut out 11 of the gold ornaments and 9 of the silver ornaments. You can hand draw the shape, use dies or die cutting machines. There are tons of free ornament templates you can find.
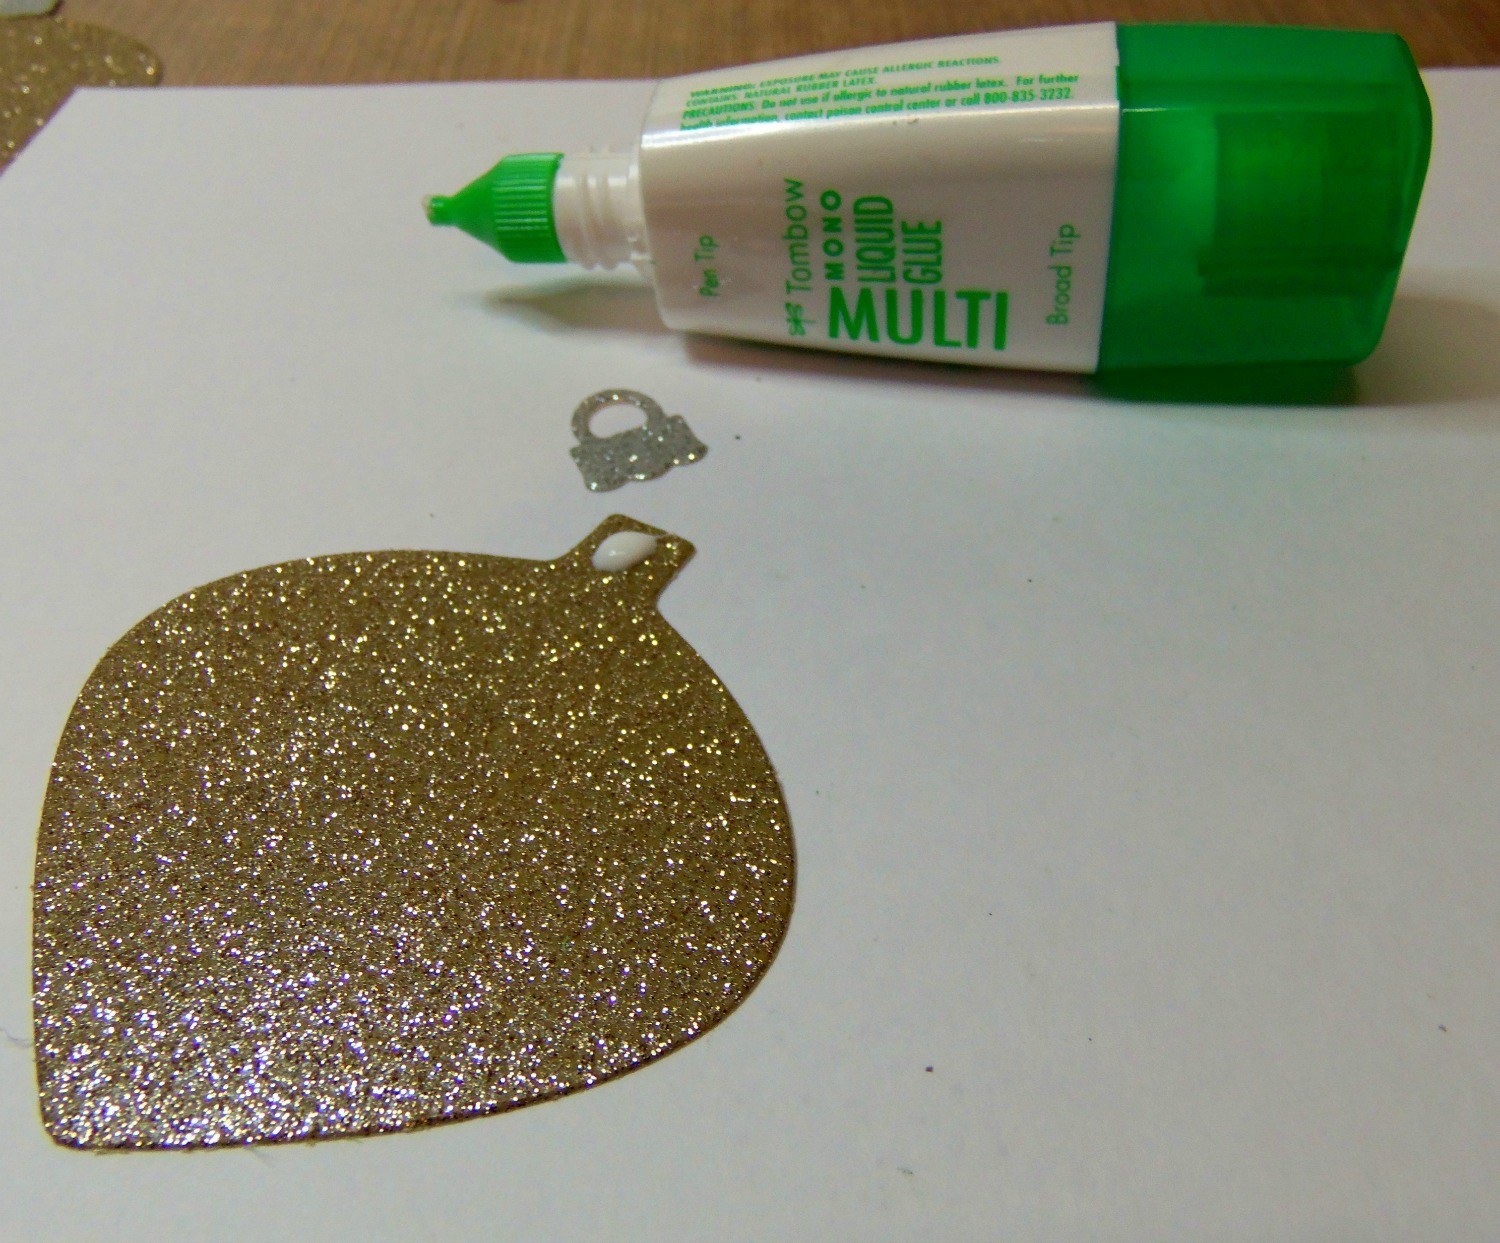
I also cut out the ornament tops. I attached them to the ornaments with Tombow Mono Multi Glue and let them dry.
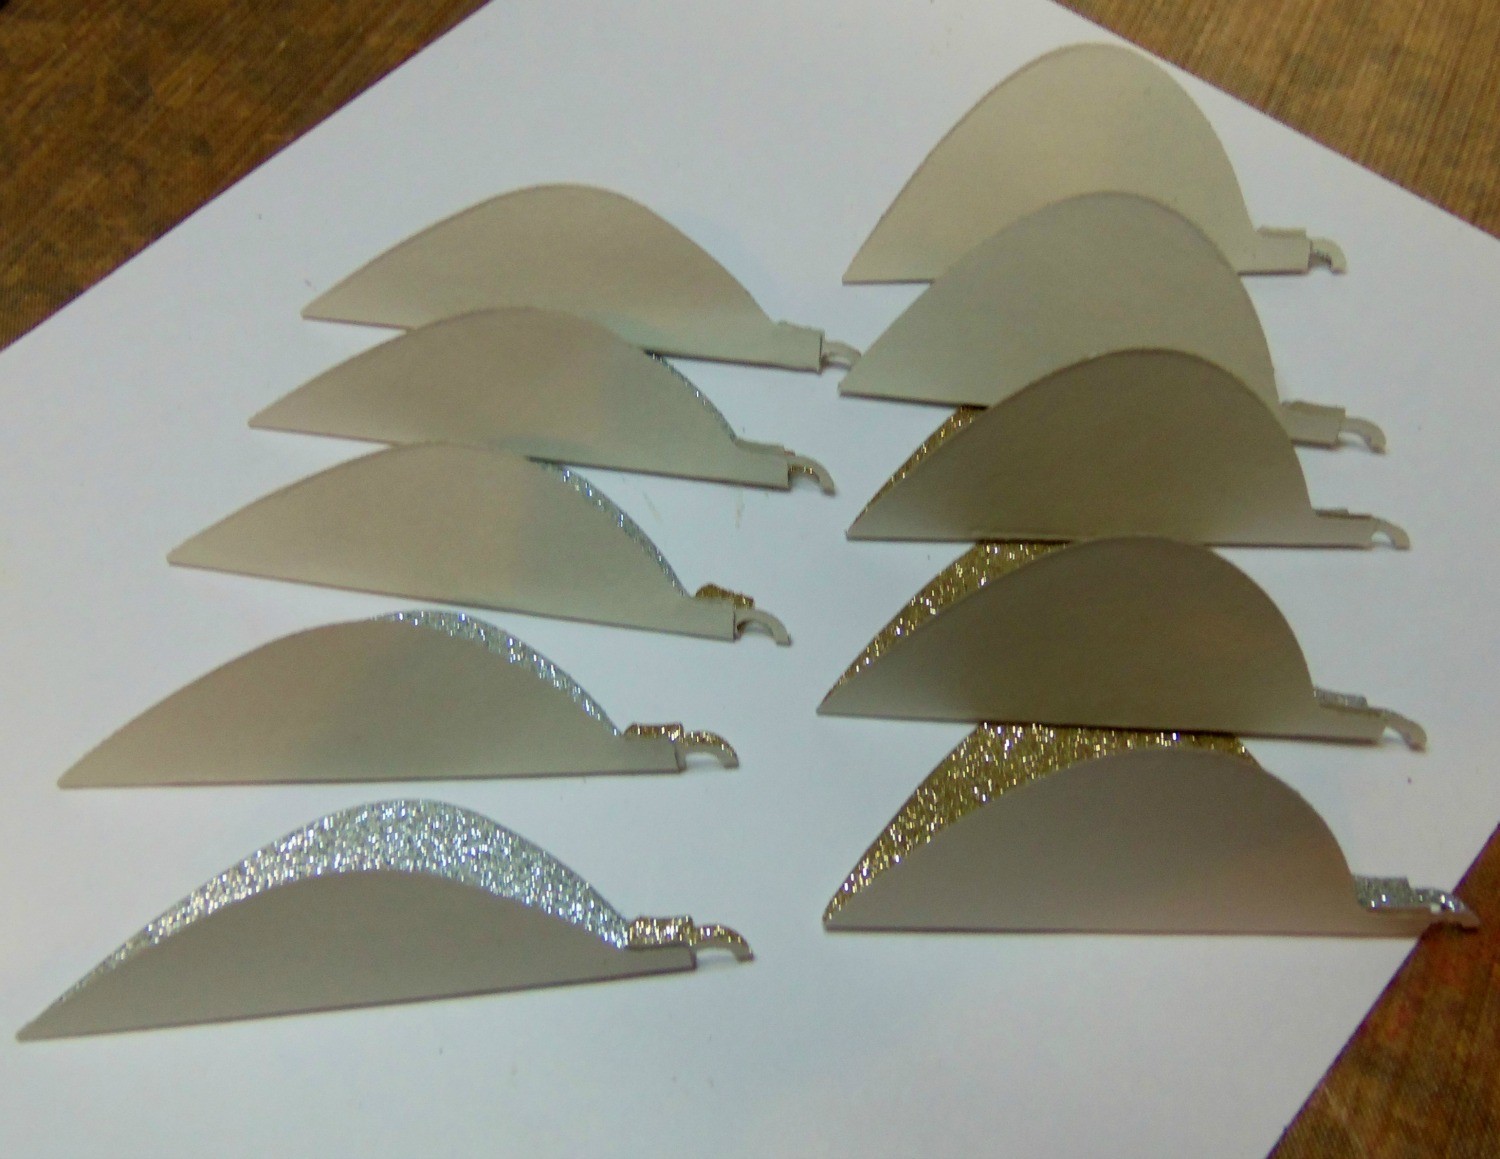
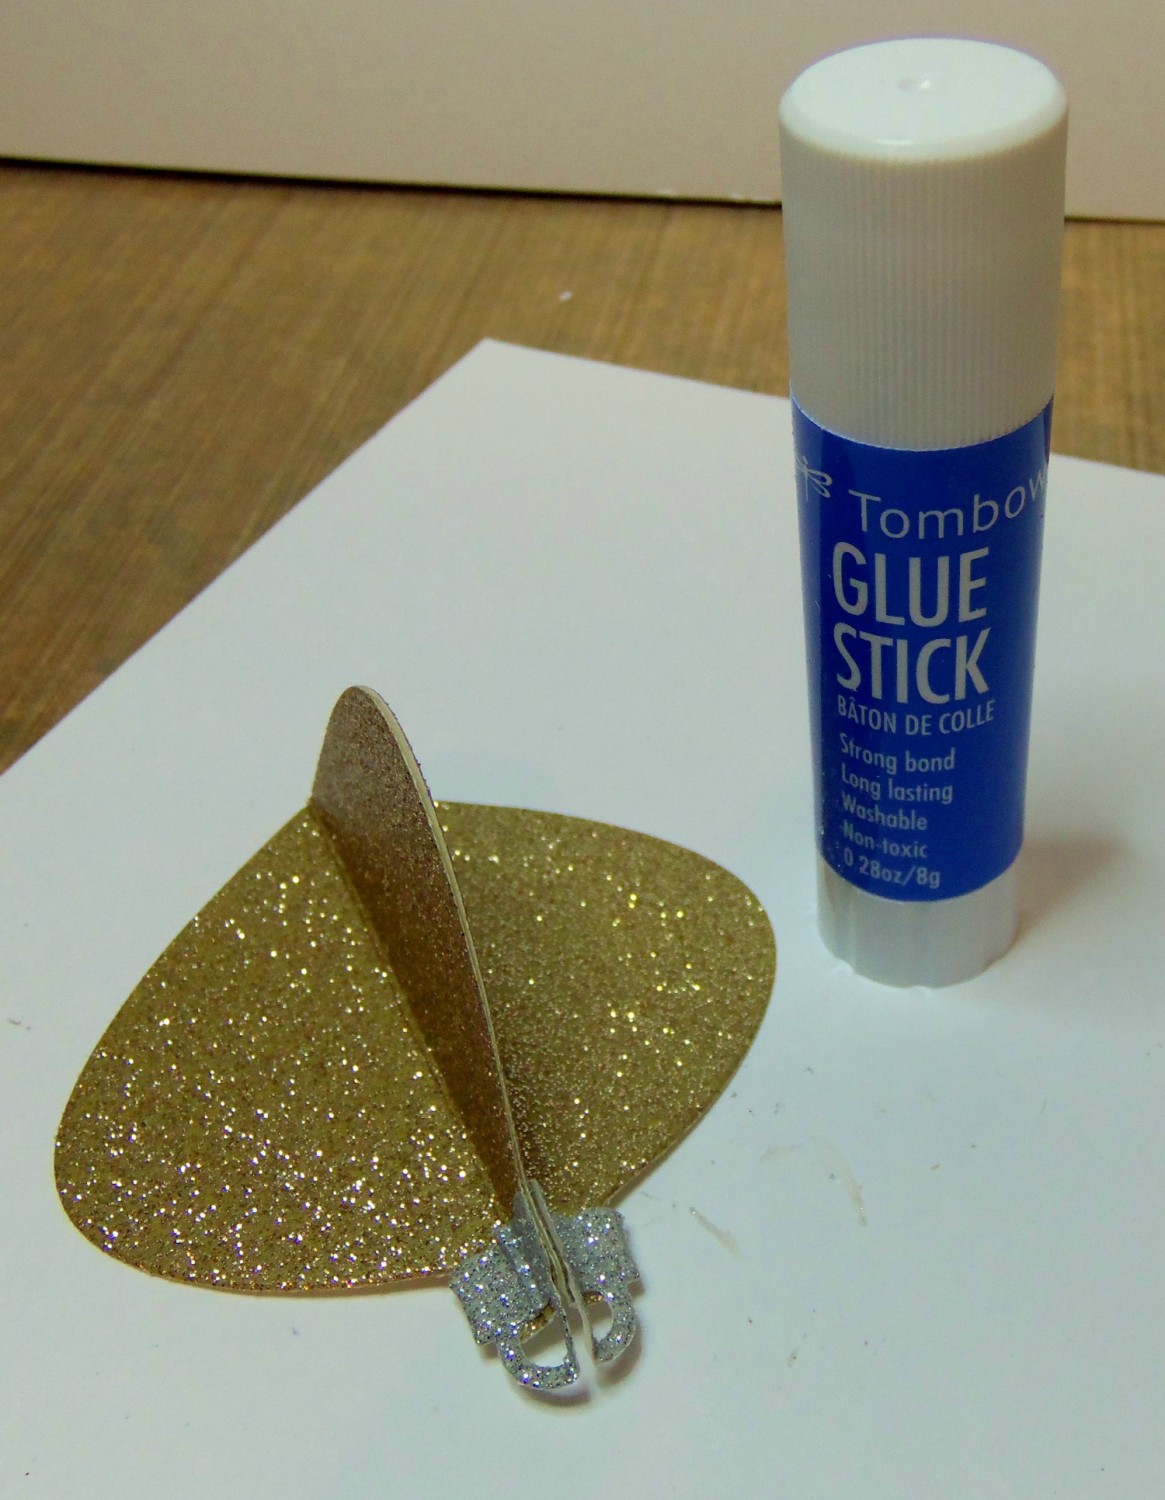
Next, fold the ornaments in half. The front of the ornament should be inside the fold.
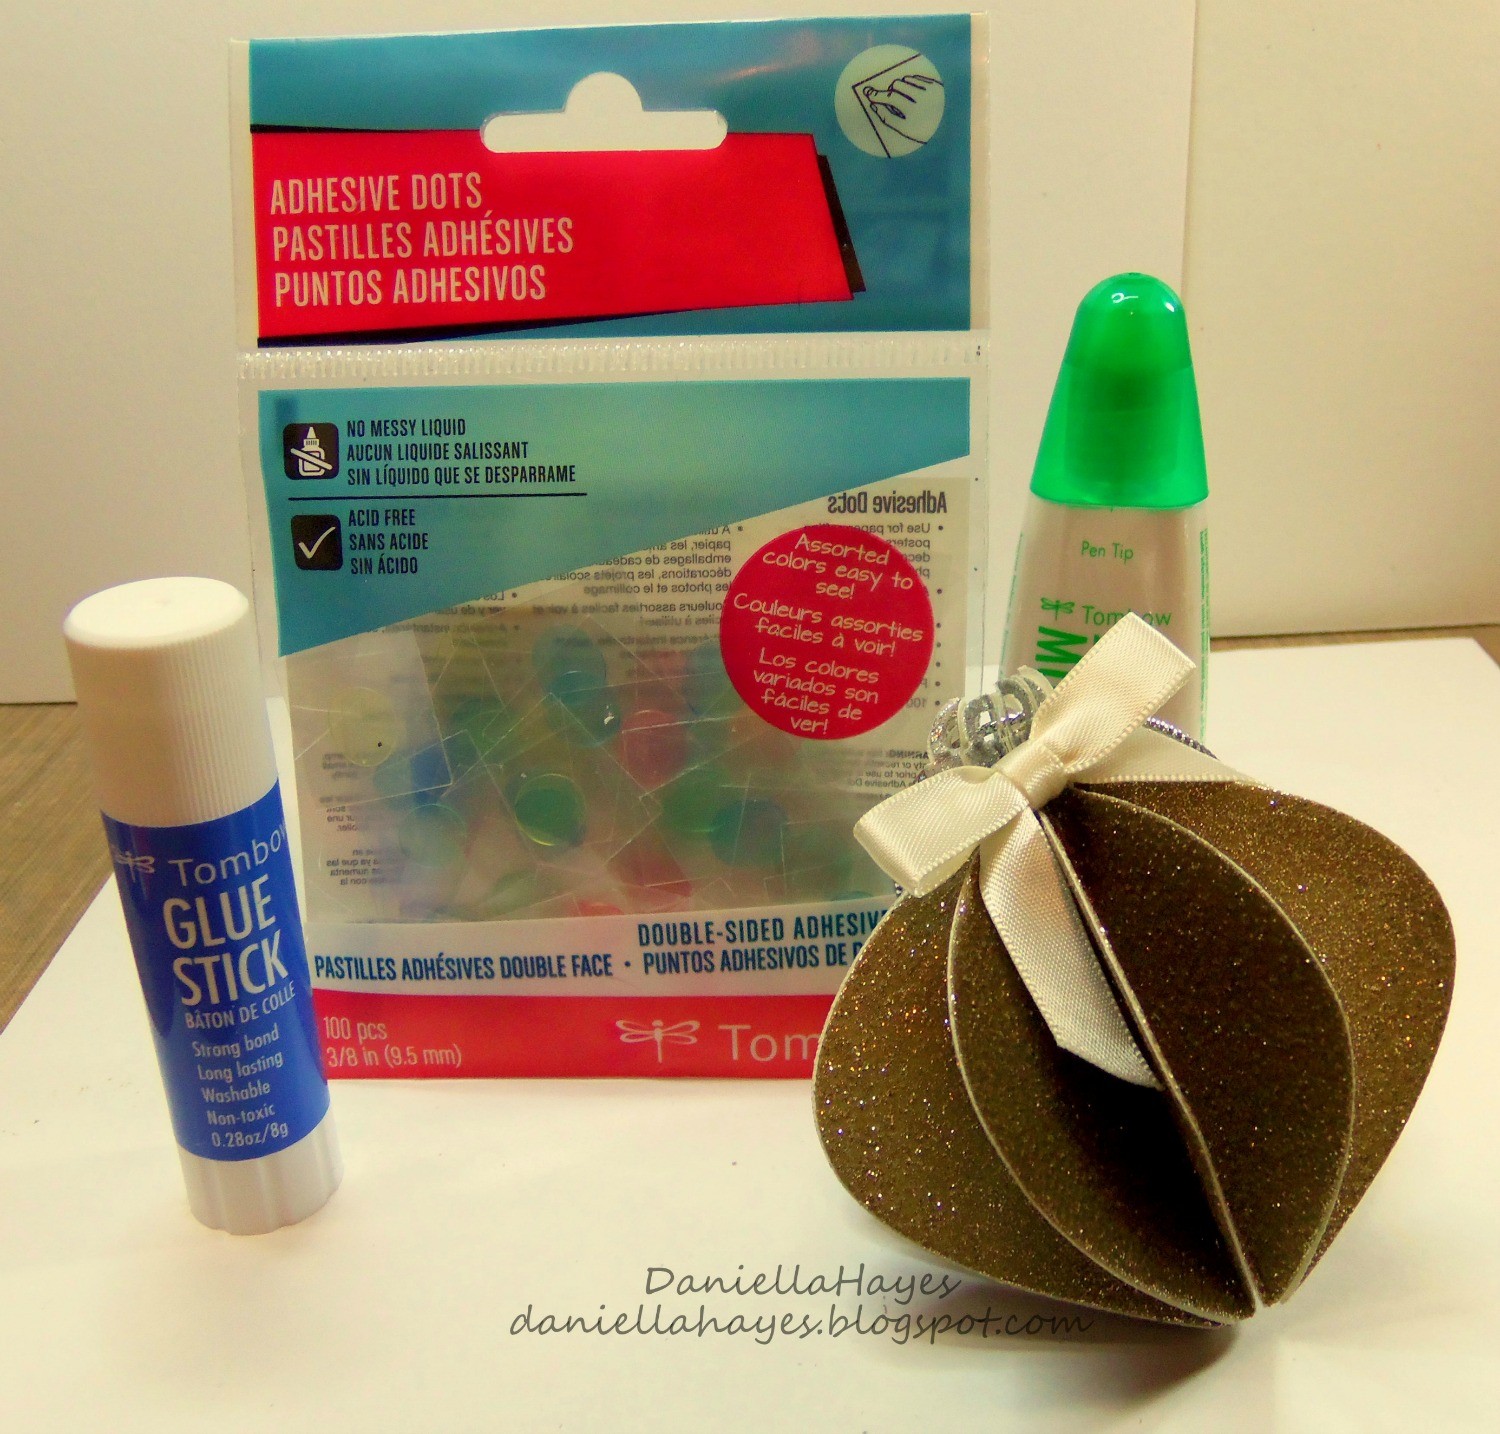
Using the Tombow Mono Glue Stick, I adhered one side of the folded ornament to another as you can see in the picture. Just apply the Tombow Mono Glue Stick to one of the back folded sides and stick it to another one. The Tombow Mono Glue Stick is the perfect adhesive for this project! You can apply it edge to edge and not worry about glue squishing out! It makes a permanent bond, dries super quick and is clear when dry. SOOOO super awesome and easy! Keep gluing your folded ornaments together until you reach the end. That's it! Now is that fun and easy or what?
To finish the ornament, add string or ribbon through the top so you can hang it. I also added a bow to the top using Tombow Adhesive Dots. I put the Adhesive Dot on the back of the bow and stuck it to the top of the ornament.
And that's it! Super Easy Ornaments! How fun would this be as a project for your children to make! Or you can just make them for your tree to give it a custom look! They would look so cute hanging off of a gift bag! The possibilities are endless!!
Thank you so much for visiting! I hope you enjoy making your own ornaments!!
xxDaniella


