Pages

Saturday, May 17, 2014

ENCAUSTIC COLLAGE

I have been curious about encaustic art for some time.  Working with wax seemed like something I would like, but I needed more information.  So I got a DVD and learned all about it.  This is what I made.
Not bad for the first time, I think!

I learned that you have to combine bee's wax with damar resin for this medium.  The resin helps the wax to stick and not flake off.  You need a heat source, like a hot plate, and something to melt your wax in, like a metal pan.  It should heat to 220 degrees.  It takes about an hour to melt.


While you wait, start your canvas.  You need to use a porous surface, like wood, fiber board or clay board.   This is a great way to use up some of your scraps.  I went to my scrap basket and picked out some pieces.  Apply them with a regular craft glue or gel medium. Don't get any on the outside of the paper.  Glues and mediums contain water, and wax and water don't mix.  Let your papers dry fully.  Be sure to remove any air bubbles. 

Let your papers hang over your surface.  When it is dry, flip it over and remove the excess.  I also added ink around the edge of the board.   Now you are ready to apply wax.

I was surprised to find out you can't just apply layers of wax on top of each other.  You have to fuse each layer.  Fusing is done with a heat tool.  After you apply a layer of wax, you use a heat tool to melt it a little bit, so it is fully adhered   You want the wax to be a little shiny for a second.  If you go too far you can burn the wax.  When applying the wax, use large strokes and get across the whole canvas.  You don't want to miss areas or leave too many heavy areas.  You will have brush marks too, and the fusing helps smooth your wax out.  I started with 2 layers of wax.

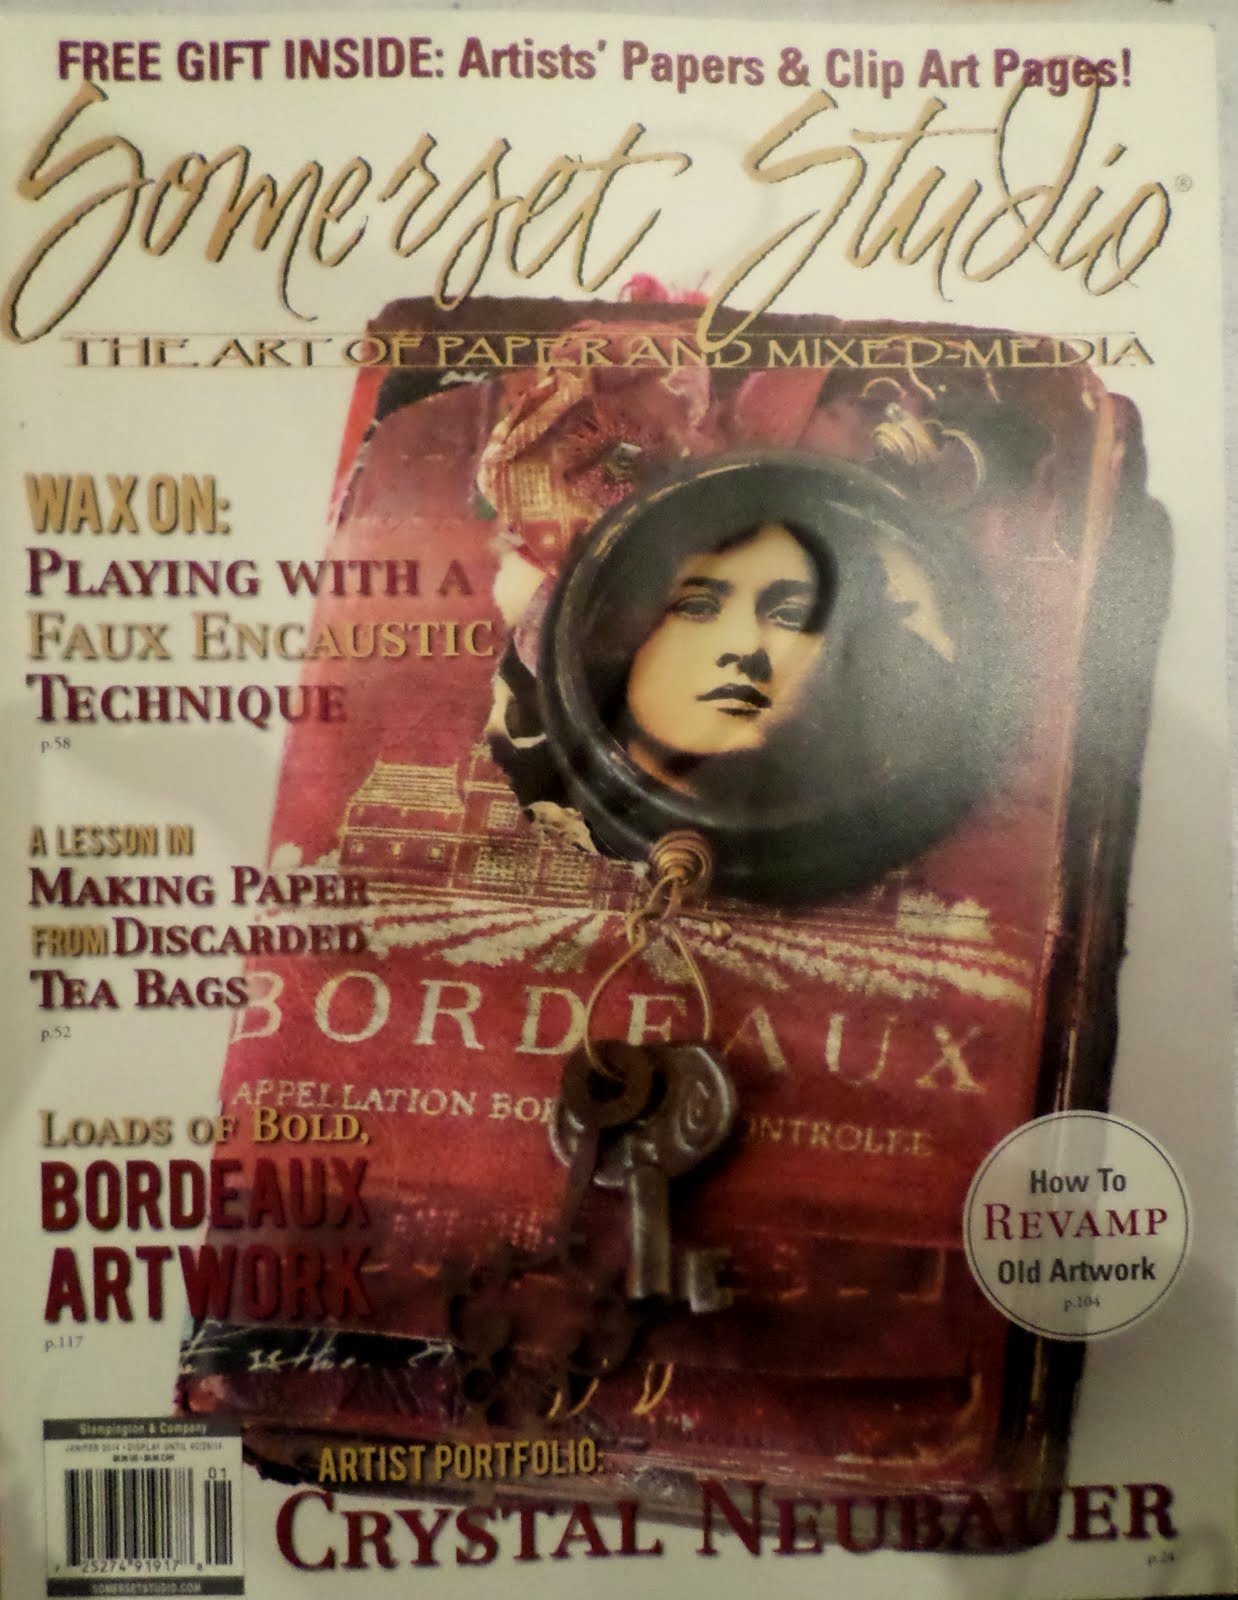
After the 2 layers were fused, I outlined my bird and added highlights.  Since wax is always tacky, I was able to add the burlap strings in a flourish kind of way. I used a little wax to apply the buttons and went around them with more wax on a small brush.  I went over the whole piece 2 more times, fusing between layers.  When it was dry I incised a few areas and added oil pastel to the cut out areas.  After using oil pastels, remove excess with vegetable oil.

And that is how I used encaustic medium to make a collage.  I am very proud of my first attempt.  I can see this medium being addictive.  There are far more elaborate things you can do with wax, but this simple tutorial is a wonderful beginning, with a very easy learning curve.  

Have fun!!
Friday, May 9, 2014

AMAZING NEWS!!

They say when 1 door closes, another door opens.  My door was wide open for this!  I have been invited to join 2 SUPER AMAZING AWESOME DESIGN TEAMS!  I can't believe it!  I feel so blessed!


This is what I love about this art journey, you never know where it will take you!  

This is going to be so much fun!  I can't wait to jump in!


Wednesday, May 7, 2014

MINERAL PAPER IS AMAZING!!!

I got a package the other day from Yasutomo & Co.  I love designing for them, they have the most awesome art supplies!  In the package was the new Mineral Paper.  This paper is like nothing I've ever seen!  It is normal looking paper but it is super smooth.  It almost has a wet/clay feel to it but folds and creases beautifully.  Writing on it is awesome!  I did some doodling and the smoothness makes your pen gracefully slide across the paper!  It is available now and will be on the website *above* next week!

It says "Easy to Fold and Water Resistant" on the package.  I tried the folding and doodling.  So now I decided to use the water on it.

I started with my Niji Splash Ink.  I only used yellow and blue.
I put the paper in my cardboard box  fancy spray box.


I filled a mister with water and sprayed the whole piece of paper.  I used A LOT of water.


I left it for about an hour, and sprayed the heck out of it again.


One more spray.  I really wanted to know how water resistant it was.


Clearly, it is water resistant!  Normally when you wet paper this much the fibers break down and cause the paper to warp.  This paper stayed perfectly flat.

But what about heat?  I dried the ink with a heat tool.  Not only did it not damage the paper but look at the beautiful way the inks dried on it!


I had a project planned and almost finished when I got this paper.  But this paper is so amazing I decided it deserved it's own post!

*sorry for the flash.  no sun here for days!*
It was just too pretty to do anything else to it!  Just Splash Ink, water and Mineral paper.  This is absolutely AMAZING!!!!  

I bet you can't wait to try it!!

Saturday, May 3, 2014

POOLS OF COLOR


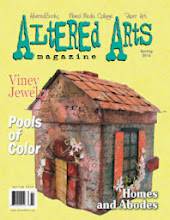
I wrote this article for the Spring 2014 Issue of  Altered Arts Magazine.  It is a really fun technique that I call "Pools of Color".  It all begins with an image that you make with colored pencils and cover with white school glue.

It can be as fancy or as simple as you like.  I made a very simple flower and scrolls.  Cover with glue and let dry completely.

Get your paper wet and "drop" very wet watercolors on to the paper.  The paints will mix and do wonderful things.   And, it will not disturb the drawn image because it is protected by the white glue.  Let it dry over night.  I know it looks like a big mess, but it's the details that make this technique beautiful.


Look at your dry paper and find beautiful designs in it to trace.  So many beautiful patterns can be found.  I start with the white space, and then look in the colors.

I hope you have fun with this technique.  It is so relaxing to look for the patterns.