Pages

Wednesday, December 16, 2015

EASY CHRISTMAS ORNAMENTS

Hello and thanks for visiting today!!  I have a super easy DIY Christmas ornament to share with you today!  People won't believe you made it yourself!
Daniella Hayes Ornament 5
Isn't it so pretty!
Daniella Hayes Ornament 1
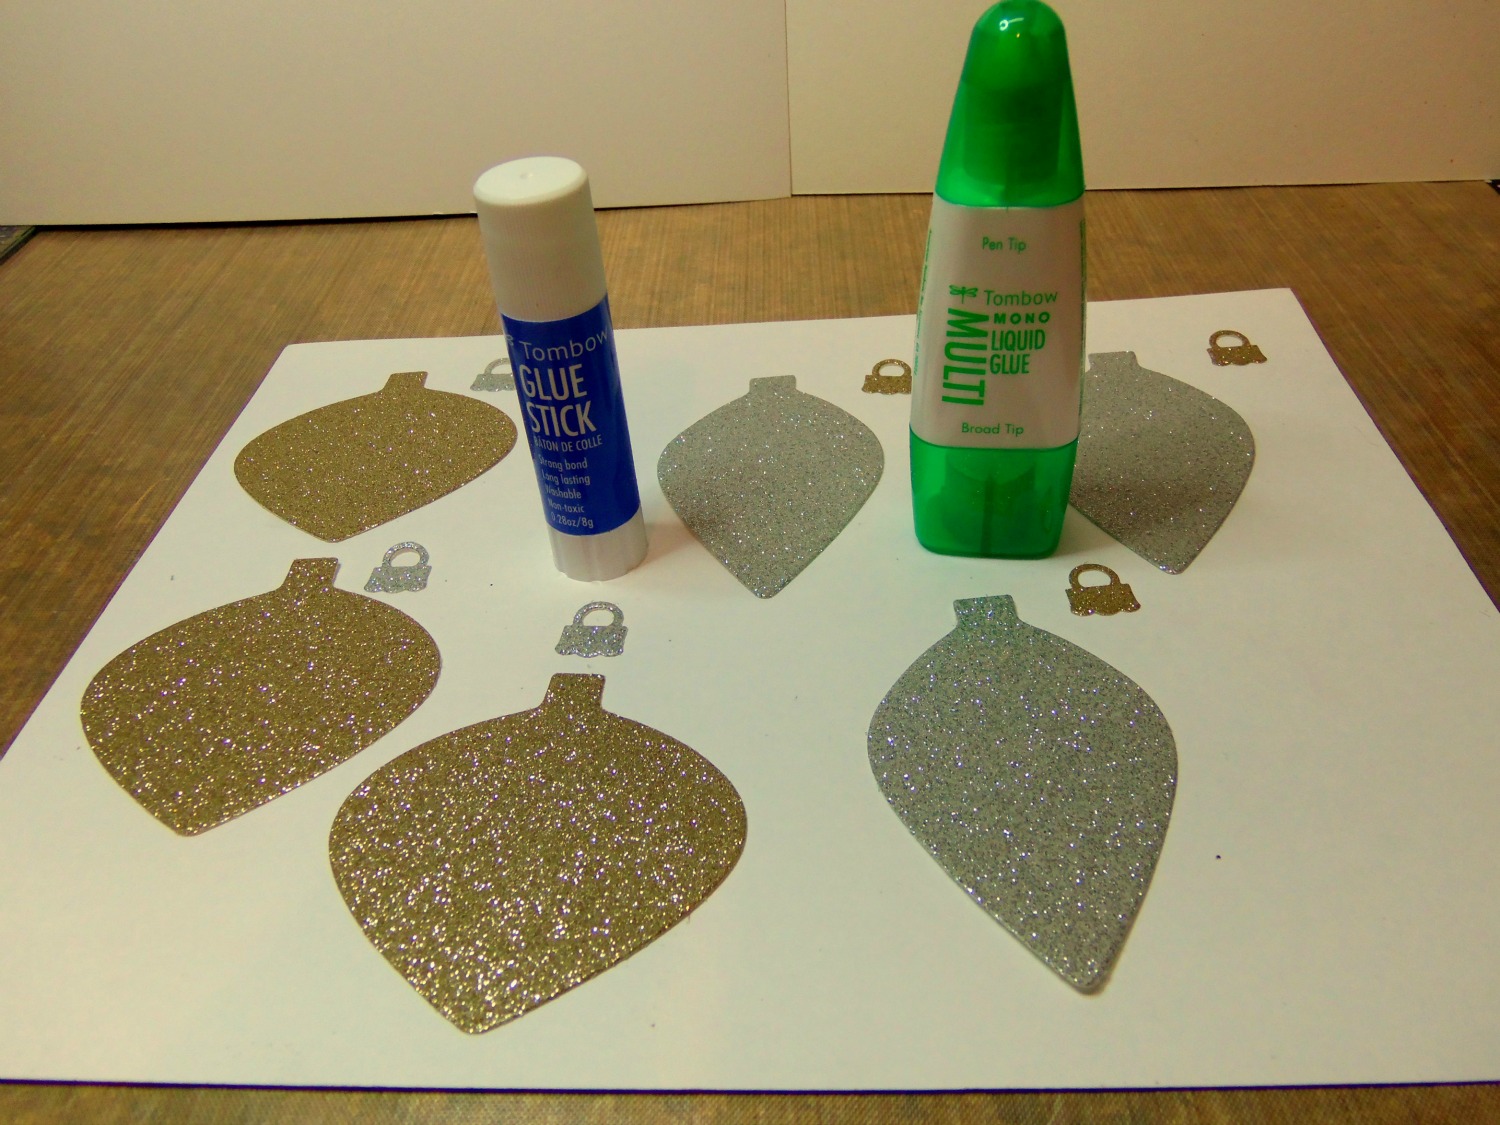
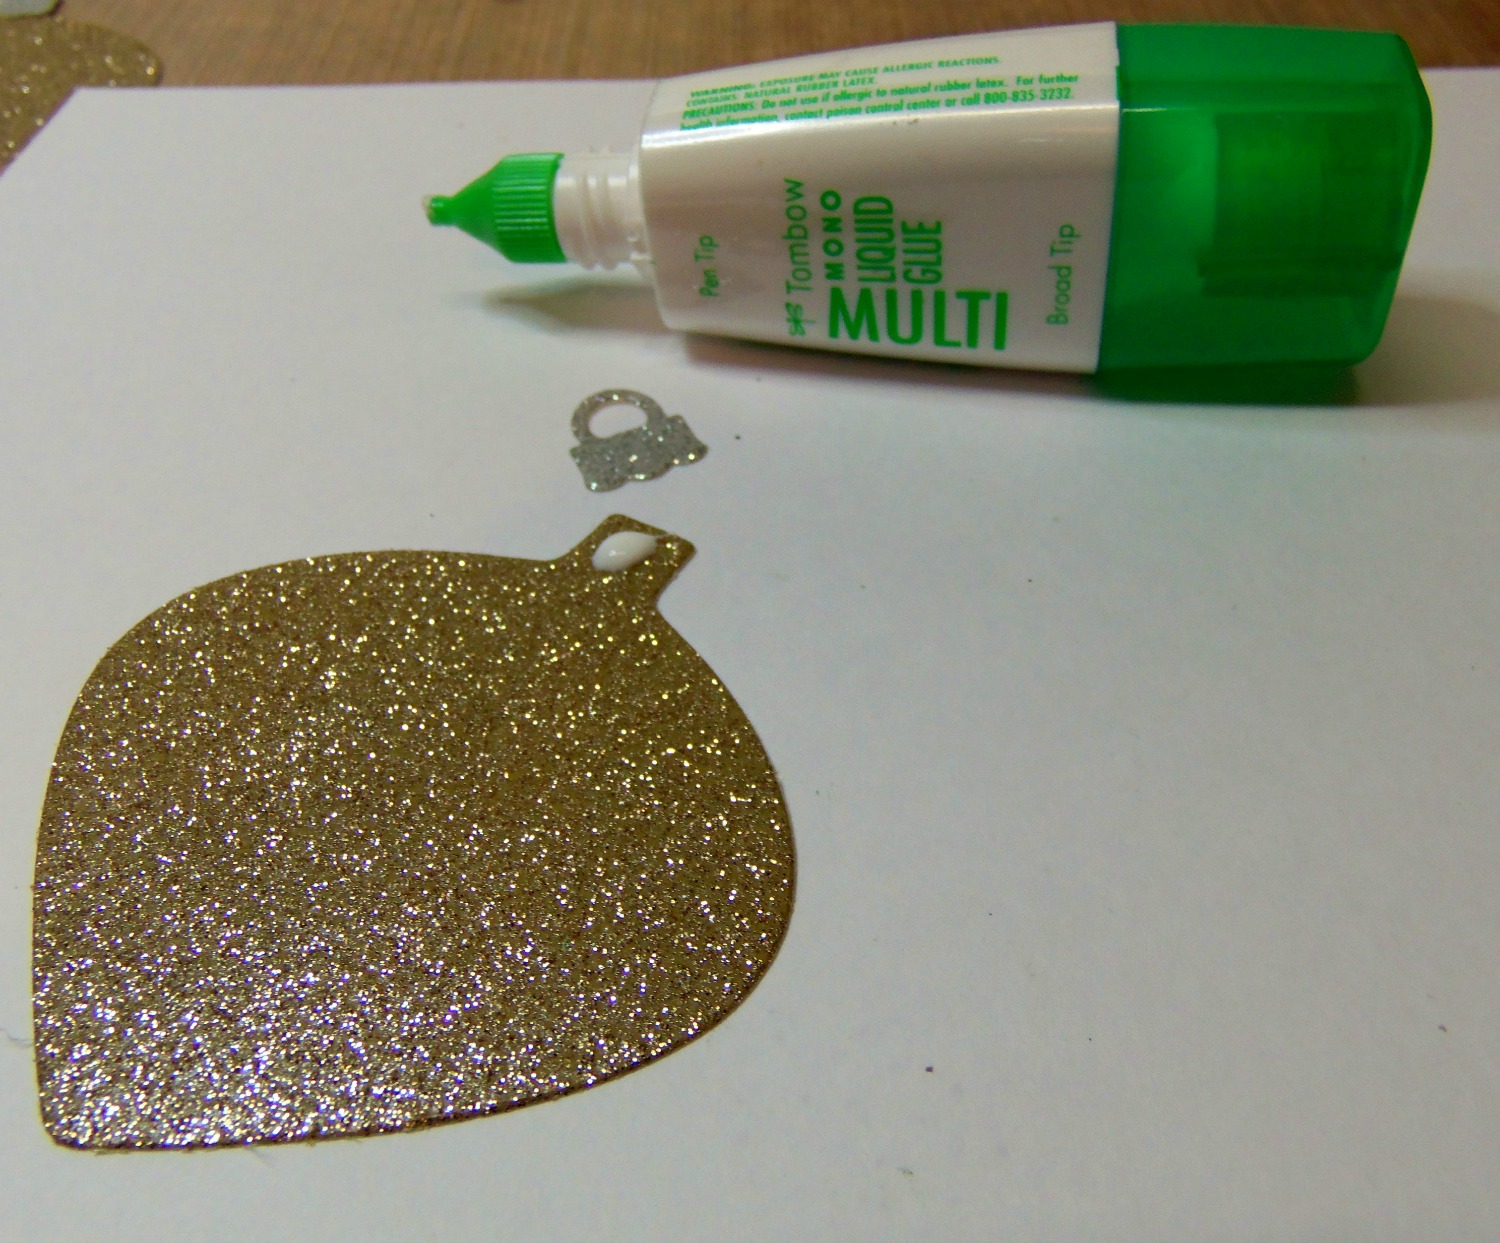
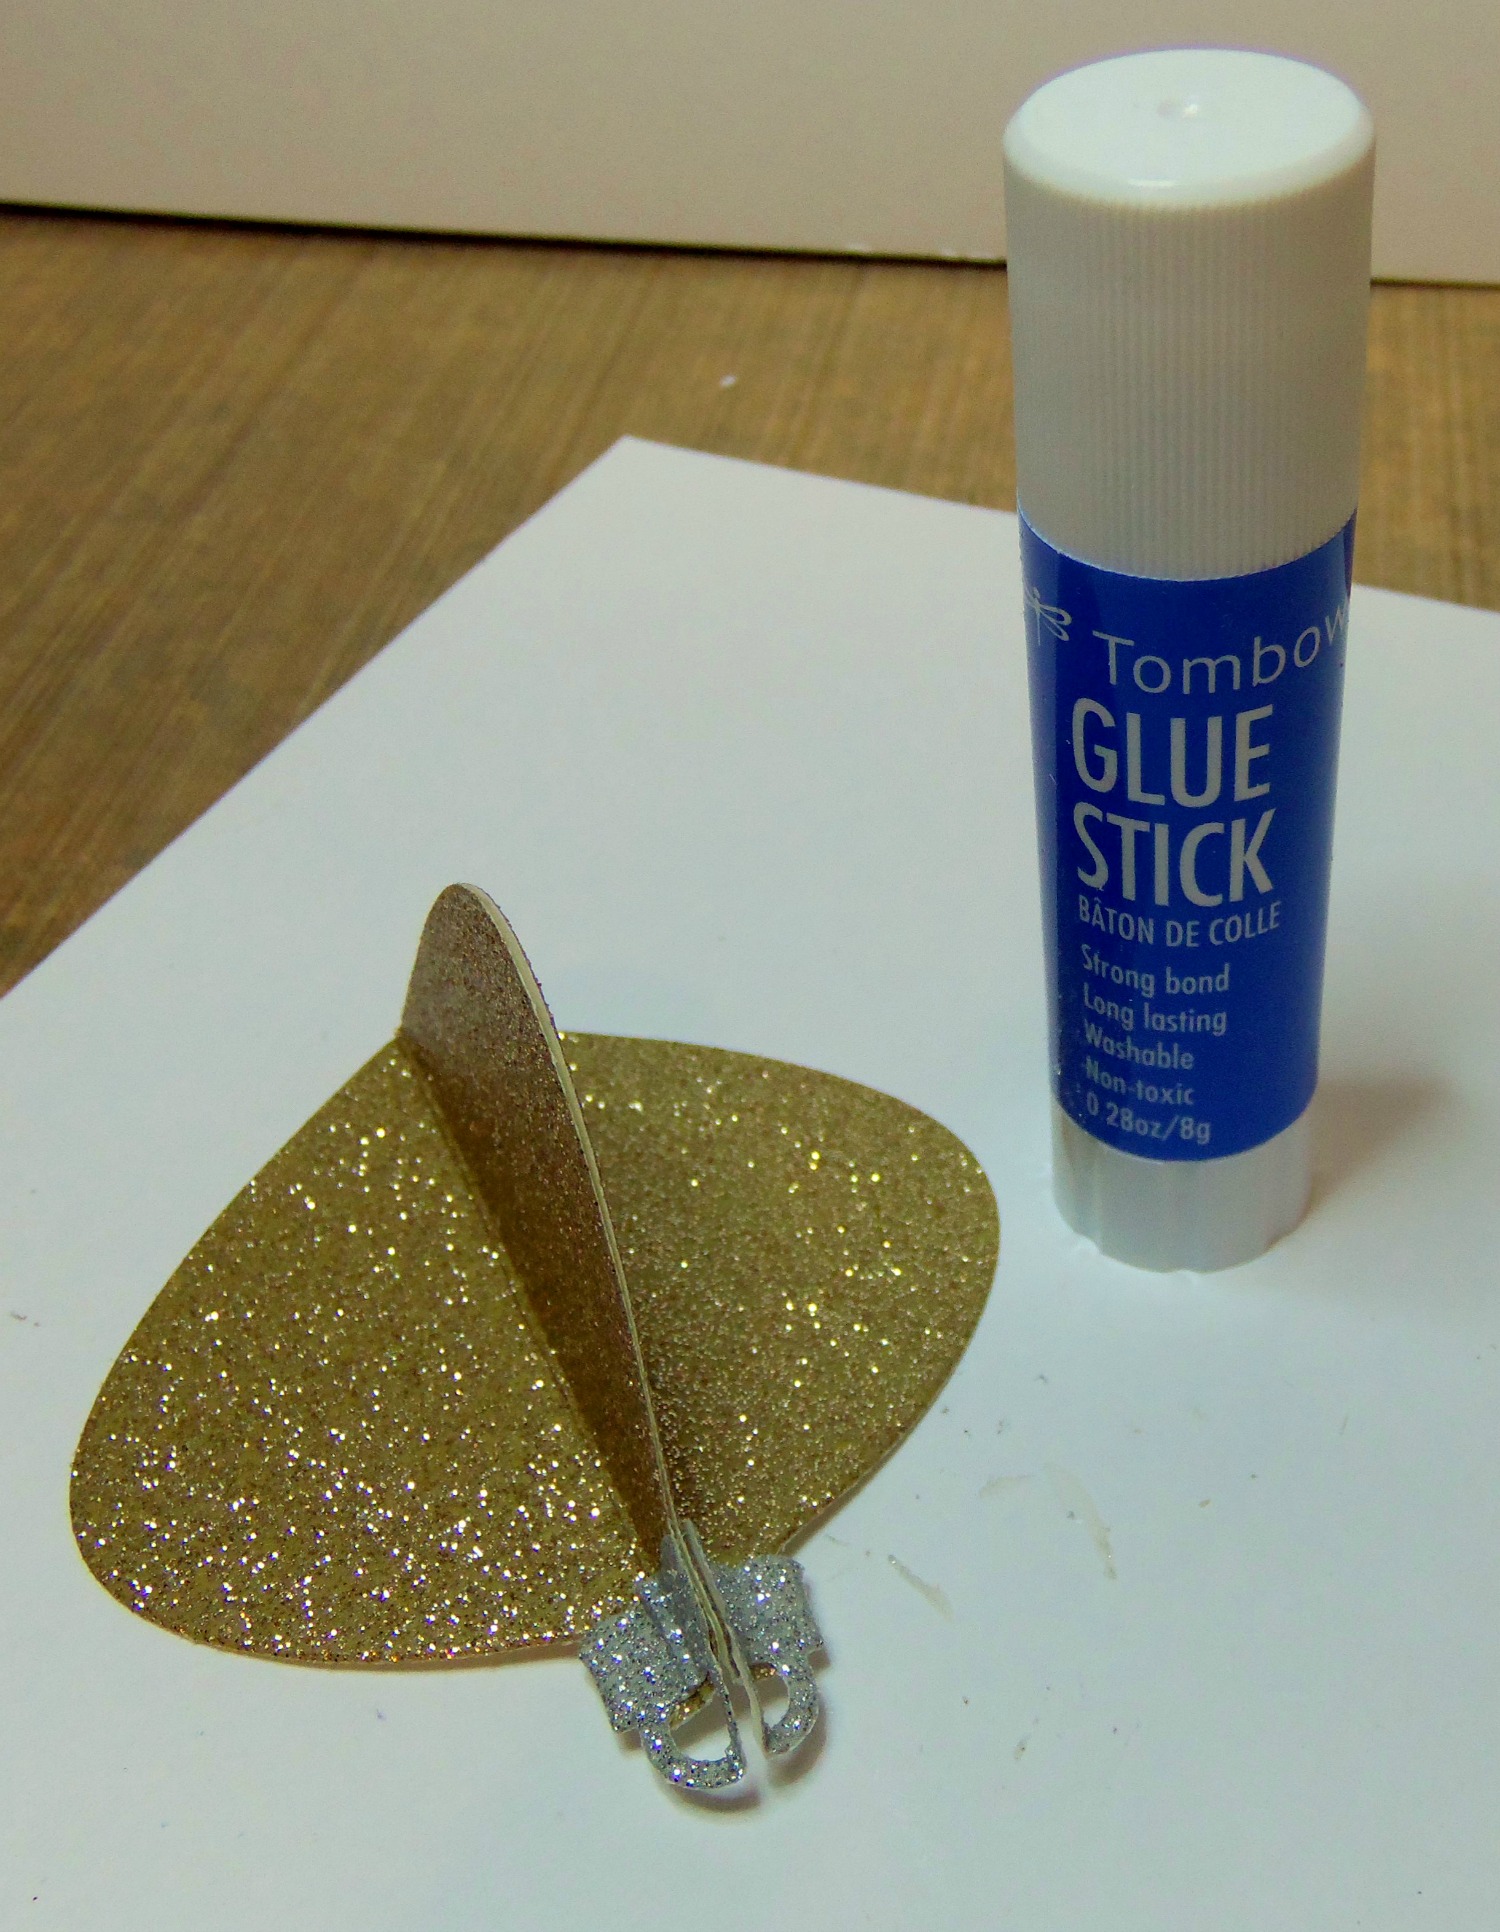
All you need is a Styrofoam ball, ribbons, glue dots, stick pins and beads.  I started by marking my ball with pencil, to use as a guide for my ribbon.  I added some glue dots to the ribbon because they stick so well and don't leave any stickiness on the ornament.
Daniella Hayes Ornament 2
I cut the ends of my ribbon, as you can see in the picture, so it would be neat and not bulky.  I then added the silver ribbon on top of the white and I used the red ribbon as an accent all around the ball.
Daniella Hayes Ornament 4
Then I added these gorgeous red and silver beads to stick pins that have a pretty crystal on top.  I stacked the red and silver beads on the stick pin and stuck them into the ball.  I did this in a circle all around the top.  I think it looks like a crown!
CRAFT TIP:  When working with something round, like this ornament, put it in a cup or a bowl to hold it straight for you.
Daniella Hayes Ornament 5
Add some cord to the center with one of the stick pins, so your ornament is ready to hang.  Was that a super easy DIY Christmas ornament or what!
I hope you make some easy DIY Christmas ornaments for your tree!
I wish all of you a very Merry Christmas and a Wonderful New Year!!  See you in 2016!
xxDaniella

Friday, December 11, 2015

TOMBOW USA AND CLIQUE KITS BLOG HOP!


Hi and Welcome to the Holiday Blog Hop with Tombow USA and Clique Kits! We have a great lineup of Holiday projects created with Tombow USA Adhesives and the Clique Cards Holiday Edition Kit! In addition to all this amazing inspiration we have two amazing super prizes!

The kit we received is AWESOME!  There is paper, cardstock, cardstock stickers, 3D stickers, wood pieces, vellum and a little bag with buttons, ribbons, embellishments and bakers twine!!
Here is a picture of the kit!  I forgot there are stamps too!!  Totally awesome!

I made this card with the kit and Tombow Adhesives.
I started by using the My Colors Cardstock in red and cutting it to 5.5"x11". I folded it in half and used it as my card base.  Next I cut a piece of patterned paper from the Photo Play Dear Santa paper pad to 5.25"x5.25" and adhered it to the base with Tombow's new super strong Mini Power Tape, that you can now get exclusively at Michael's!  I added a tree sicker from the Photo Play Dear Santa Element Sticker Sheet and the Deck the Halls stickers from the Pink Paislee Yuletide Stickers.  I used the bakers twine, that is also in the kit, and tied a bow on each end so it would hang across the top of the top of the card.  To adhere it to the card, I used Tombow Mono Multi Liquid Glue.  Finally I added the tinsel bow to the middle of the bakers twine.  So fun!  


We have two awesome prizes for this hop!


Use the Rafflecopter to win one of these prizes! Giveaway ends December 20th, 2015. 


I hope you enjoy this hop!!
xxDaniella

Tuesday, December 8, 2015

ENVELOPE JUNK JOURNAL WITH HARD COVERS FOR JENOFEVE DT


I have a wonderful Junk Journal to share!!  I made a hard covers and spine Junk Journal, using the 6"x9" Printable Envelope Album from Jen of Eve Designs.


Thanks so much!!  YOU are AWESOME!!

xxDaniella

Monday, November 30, 2015

PRETTY ORNAMENTS!

Hello and thanks so much for visiting!  I have some super easy ornaments to share with you today!  The theme this week for the Tombow blog is Christmas ornaments!  Please check out the blog every day this week to get ornament inspiration!
Daniella Hayes Ornaments 1
I am absolutely in love with them! I've made 20 ornaments so far!!  Here's how:
Daniella Hayes Ornaments 2
I cut out 11 of the gold ornaments and 9 of the silver ornaments.  You can hand draw the shape, use dies or die cutting machines. There are tons of free ornament templates you can find.  
Daniella Hayes Ornaments 3
I also cut out the ornament tops.  I attached them to the ornaments with Tombow Mono Multi Glue and let them dry.
Daniella Hayes Ornaments 4
Next, fold the ornaments in half.  The front of the ornament should be inside the fold.
Daniella Hayes Ornaments 5
Using the Tombow Mono Glue Stick, I adhered one side of the folded ornament to another as you can see in the picture.  Just apply the Tombow Mono Glue Stick to one of the back folded sides and stick it to another one.  The Tombow Mono Glue Stick is the perfect adhesive for this project!  You can apply it edge to edge and not worry about glue squishing out!  It makes a permanent bond, dries super quick and is clear when dry.  SOOOO super awesome and easy!  Keep gluing your folded ornaments together until you reach the end. That's it!  Now is that fun and easy or what?
Daniella Hayes Ornaments 6
To finish the ornament, add string or ribbon through the top so you can hang it.  I also added a bow to the top using Tombow Adhesive Dots.  I put the Adhesive Dot on the back of the bow and stuck it to the top of the ornament.
And that's it!  Super Easy Ornaments!  How fun would this be as a project for your children to make!  Or you can just make them for your tree to give it a custom look!  They would look so cute hanging off of a gift bag!  The possibilities are endless!!
Thank you so much for visiting!  I hope you enjoy making your own ornaments!!
xxDaniella

Monday, November 23, 2015

THANKFUL WEEK WITH TOMBOW USA!

Hello Friends and thank you for visiting!  In honor of Thanksgiving, the Tombow Design is celebrating with Thankful Week on the Tombow Blog!  The Design Team will be showing projects that express how thankful we are, and that show our gratitude.  
Did you know that November is Gratitude month?  For the past 5 years, I have made a gratitude journal every November.  It is something I wish I could remember to do every day, not just in November. According to National Day Calendar, “Research has shown that gratitude can enhance our moods, decrease stress and drastically improve our overall level of health and well being. On average, grateful people tend to have fewer stress related illnesses and experience less depression and lowered blood pressure, they are more physically fit, they are happier, have a higher income, more satisfying personal and professional relationships and will be better liked.”  
Daniella Hayes Gratitude Cover
This little journal is only 3 1/2" x 2 1/2".  Just big enough to write one or two words about what you are thankful for.
Daniella Hayes Gratitude 1
I cut some cardstock for my book and took out my Tombow Dual Brush Pens and a Gelli Plate.
Daniella Hayes Gratitude 2
By swiping the markers across the Gelli Plate and spritzing it with water I was able to make beautiful watercolor prints on my paper! You could also do this with your Tombow Blending Palette.
Daniella Hayes Gratitude 3
They are soooo pretty!!  Remember to do this on both sides of the paper.
7
Then I used my Dual Brush Pen, brush end, to ink up some stamps and randomly stamped on the pages.
Daniella Hayes Gratitude Pages
After I made the pages into a book, I numbered each page and every day I write 1 thing I am grateful for.  I used my Tombow Dual Brush Pen again to write with.  The pages are wrinkled and warped from the water, but it gives it more charm I think *although it made my pretty lettering a bit wobbley*.
Daniella Hayes Gratitude Cover
I added some seam binding to close the book, and a little label with the date on it.  I adhered the label with Tombow Mono Multi Liquid Glue.
I hope I have inspired you to make a project about things you are thankful for!  And keep visiting all week to see what the rest of the Design Team is thankful for!
xxDaniella

Thursday, October 29, 2015

THREE CHEERS FOR TOMBOW!!

Hello!  I'm so glad you're here!!  I have a few things to share with you that I made for Tombow USA

First, I have a super fun Halloween project!  Pumpkin Treat Containers 2 different ways!

Are these the cutest Pumpkin Treat Containers you've ever seen or what?!?!

I started with some cardboard pumpkins that I got at the craft store.  You know that isle that has all these cute cardboard things for you to embellish?  They were really inexpensive so I thought they would be super fun and easy.  I bought a bunch of them for some special trick or treaters I know.  I am making them 2 different ways.  One pumpkin will have strips of tissue paper decoupaged on it with Tombow Mono Aqua Liquid Glue.  Mono Aqua is the best for paper to paper adhesive and decoupage techniques.  It is AWESOME!!  Then I will "watercolor" over the tissue paper.  The second pumpkin will only be "watercolored" 

Using the broad tip of the Tombow Mono Aqua Liquid Glue, I applied it to the back of the tissue paper strips and attached them to the pumpkin.  As you see, the pumpkin opens into 2 halves (front and back), so I opened them to alter them.  Be sure to use an embellishng stylus or, something similar, to get the tissue paper into the indents from the eyes, nose and mouth.  Let the pumpkin dry.

Now it's time for the FUN!  I rook our my Tombow Blending Kit (which contains a blending palette, blender pen and a compact spray mister) and 3 shades of orange Tombow Dual Brush Pens (925, 933, 946) and swiped them across the blending palette.  The palette has a coating on it so when you are done using it, you just clean it off with a damp cloth/baby wipe.  And on the back, there is a color guide to all the Dual Brush Pens colors.

I know.  You are like "well that was cool and everything Daniella but where's the fun???  It's right here!!!  Fill your compact spray mister with water and spray it on the ink a few times.  The colors all start running into each other and you now have your very own custom color!!  You can experiment all you want with fun color play!  No more searching for the perfect color, if you don't have it you can make it!  AND>>>  Now that you've made this super custom color you can use a paint brush and it is now watercolor paint!!  I know, I just blew your mind.  Now tell me that's not fun.  THAT is the definition of FUN for any creative person!!!  Sorry, back to the pumpkins.  Paint both of your pumpkins, avoiding the eyes, nose and mouth, and let them dry.  Then color in the eyes, nose and mouth.  For my paint only pumpkin I used a yellow (055) Dual Brush Pen and for the other I used a black (N15) Dual Brush Pen.  Don't forget to color the pumpkin stems too!  I used a brown (977) Dual Brush Pen.

To finish these FABULOUS pumpkins, I used my Tombow Mono Glue Pen to precisely apply glue to the eyes, nose and mouth, so I could add glitter.  I added some Tombow Mono Aqua Glue on top of the glitter, to seal it so it won't fall off.

And that's it!  How stinkin' cute are these pumpkins?  I LOVE them!!  I don't know which I love more, but I have a pretty good idea!!  Which one do you like better?  I'd love to know!!  

Next, I have a video I made when Tombow USA teamed up with Simple Stories.  I made scrapbook using products from both companies.  The Tombow products I used are: Tombow Mono Liquid GlueTombow Stamp Runner Dot Pattern AdhesiveTombow Adhesive Dots and Tombow Mono Twin Permanent Marker.


And the last video I want to share is a video for Tombow's "Color Love" week.  In this video I show you all the Tombow products that are pink and how to use them.  The Tombow products I used are:


I hope you enjoy all of these projects using the amazing products from Tombow USA!  I'd love to hear how you use your Tombow products, or tell me which products inspired you to try Tombow.

Thanks so much!  YOU are AWESOME!!

xxDaniella


Monday, October 19, 2015

CANNING JAR LID PUMPKIN

It's Altered Halloween week on the Tombow Blog!  Please visit every day to see the amazing projects the designers made!  I made a canning Jar Lid Pumpkin!
Daniella Hayes Canning Jar Lid Pumpkin 6
Is that fun or what!!??
Daniella Hayes Canning Jar Lid Pumpkin
I have a bunch of canning jars and lids that I got for free at a yard sale (awesome!).  I took all the lids that I had and painted them white.
Daniella Hayes Canning Jar Lid Pumpkin 3
I used a piece of string to tie them together and I added a wine cork to the center with Tombow Mono Multi Glue on it.
Daniella Hayes Canning Jar Lid Pumpkin
I cut some kraft paper into 1/4" strips and used Tombow Xtreme Adhesive to adhere them to the lids.  Tombow Xtreme adhesive is 5x stronger than regular adhesive and sticks to anything, including metal.
Daniella Hayes Canning Jar Lid Pumpkin 5
I noticed that I didn't have enough lids to have a full looking pumpkin.  So I thought I would just add strips of paper alone to the canning lid pumpkin.  I adhered them to the pumpkin using Tombow Mono Multi Liquid Glue.
Daniella Hayes Canning Jar Lid Pumpkin 6
I attached some brown paper for the stem, some rope, some leaves and a paper pine cone to the top with Mono Multi Liquid Glue to finish the pumpkin off.
Thank you for visiting!  I hope you make some awesome altered Halloween projects yourself!!

xxDaniella

Monday, October 12, 2015

BEST WITCHES HALLOWEEN CARD!


Hello and thanks for visiting!!  It's Halloween Cards week on the Tombow Blog!

I made a fast and easy Halloween card using patterned paper, diecuts and bling!  And of course, Tombow products to keep it all together!
Isn't this a fun card? Best "Witches"!  Awesome!
I started by adhering my papers to my card with Tombow Stamp Runner Dot Pattern Adhesive.
Witches Card Daniella Hayes
Then I added gauze to the card with Tombow Mono Multi Liquid Adhesive.
Witches Card Daniella Hayes
And used Tombow 3D Foam Tape to give the diecuts dimension.  I also used Mono Multi Liquid Glue to adhere some of the diecuts.
Witches Card Daniella Hayes
A little bling and this card is finished!
Witches Card Daniella Hayes
How easy was that!  Just a fun and simple card that has awesome dimension!  I think it is FABULOUS!!
Thank you so much for visiting!  I hope you make a fun Halloween card today!!
xxDaniella

Wednesday, October 7, 2015

ENVELOPE JUNK JOURNAL WITH FASTENER TAB CLOSURE


Hi!!  I have another envelope junk journal video to share with you!  I am on a quest to get all of my little booklets I made for my Red Altered Book bound into albums!  2 albums down, 1 to go!


In this video, I show you a little about the next book and ask your opinion!  I used the 6"x9" Printable Envelope Album from Jen of Eve Designs to make this.


I hope you like it!!  Thanks so much for being AWESOME!

xxDaniella


Monday, October 5, 2015

Tombow & Simple Stories SN@P Album


Tombow USA and Simple Stories are teaming up this week!  I made a SN@P Book using products from both companies. I made a video showing the whole book. To see the full supply list, visit the Tombow Blog!


There IS ALSO A CHANCE TO WIN AN AWESOME PRIZE!!! So hurry to the Tombow blog for you chance to WIN!


Thanks for visiting and watching my video!!  Good Luck!

xxDaniella

Thursday, October 1, 2015

6x9 ENVELOPE JUNK JOURNAL BACKWARDS


I am so super excited to show you my latest 6" x 9" envelope album~ backwards!!


 As part of the JenofEve Designs design team, I get to create these awesome books using her awesome printables!  This time I turned the envelope printable backwards!  I needed the room in the envelope album for my little booklets.

If you remember, I made 12 booklets to go in my Altered Red Book....

There is a video on how I did it on my YouTube channel if you want to see it.

But the book was soooo full and fat  and awesome, the booklets didn't fit.  So now I am able to use them as signatures in my Envelope Junk Journals!!  And using JenofEve Designs 6"x9" printable envelope album is the perfect size!!

To get your own printable, visit JenofEve Designs on Etsy!
And check out her awesome videos on YouTube!

Thanks for visiting!  I hope you like my video and subscribe to my channel!
xxDaniella

Saturday, September 19, 2015

TOMBOW USA AND STAMPENDOUS BLOG HOP!!


Hi and welcome to the Tombow USA and Stampendous blog hop!  You probably came here from Pam Hornschu's blog but if you need to start at the beginning, go to the Stampendous blog to start!!

You could WIN and AWESOME prize!!  There will be 2 prize packages that include:

A roll of Tombow Foam Tape

Your choice from Stampendous Create Fall, Create Christmas, Create Winter or Create a Poinsettia Cling Stamp set and Matching Dies

I got to use some AMAZING Stampendous products and Tombow products for this card.

Isn't it cute??  I wrote the word Pumpkins with my Tombow Dual brush Pen (Black) and went over the thick lines with my Tombow Mono Glue Pen and added some Black glitter from the  Stampendous Fall Micro Glitter Kit.  Then, I stamped the pumpkins, faces, leaves and stems, from the Create Fall Stamp Set on white cardstock and colored them with several different colors of Tombow Dual Brush Pens.  I chose several of each color to try to get some depth of color on the images.  Next, I die cut the images with the Create Fall Die Cut Set and adhered them to the card with Tombow Stamp Runner Dot Pattern Adhesive.  I also added more stamping around the card.  To finish I used my glue pen again on the lines in the leaves and added more Micro Glitter.

Here is the Hop Line Up:


Saturday

Here's what you have to do to win:

·         Have a US Mailing Address
·         “Like” TombowUSA on Facebook and Stampendous on Facebook
·         Follow @tombowusa and @stampendous on Instagram
·         Follow @tombowusa and @Stampendous
·         Follow Tombow USA and Stampendous on Pinterest
·         And comment on all the blog posts from both teams all week. Including our pre-game posts Mon-Thurs and our Weekend hop Fri-Sun.
·         We’ll give you until Tuesday, September 22 to get all those great comments in, then we’ll choose 2 winners on Sept 23.

Thanks for visiting!!  Enjoy the hop!
Good Luck!

xxDaniella

Friday, September 11, 2015

SIN CITY STAMPS DESIGN TEAM BLOG HOP!


Hello an welcome to the SinCity Stamps Design Team Blog Hop!!


Be sure to start at the SinCity Stamps Blog and hop through the Design Team line up for your chance to win one of these AWESOME ATC stamps!!

Everyone on the team has made a set of ATC's.  Here are mine!

I had a blast making these!!  I love making ATC's. They are just a tiny piece of wonderful art!!

I used these SinCity Stamps Products for my ATC's:

I started by using the Butterfly Mask as a stencil with grey ink.  Then I added some of the new awesome rub ons from 7 Gypsies that are now available at the SinCity Stamps Store.  Finally, I stamped one of my favorite sets from SinCity Stamps, Love of Butterflies.  Remember, there is a PERMANENT PRICE REDUCTION in the SinCity Store, so it's a great time to get some new stamps!!

And...THERE IS A PRIZE TOO!!  One lucky hopper could win one of 5 awesome ATC stamps!!


They are so awesome!

So, remember.  Start at the SinCity Stamps blog, where you will see the list of designer's blogs and all of the details on how you could win!!

Thanks for visiting!!  Have fun and good luck!
xxDaniella


6"X9" ENVELOPE ALBUM PRINTABLE. DT PROJECT FOR Jen Of Eve Designs

I am designing for Jen of Eve Designs now and she makes awesome printables!  Her Etsy Shop is filled with beautiful printables and gorgeous handmade books.  Her latest printable is a 6" x 9" Printable Envelope Album.  This collection is so cool because you get 12 pages of blank templates that you can use with your own paper and 12 pages that have a design on them.  It's like 2 for the price of 1!!

I used the blank template pages on my own patterned paper for my book.


I also made a video about how I made it and it shows interesting ways to sew in pockets.  I hope you check out!!


Thanks and have an awesome day!!
xxDaniella