Pages

Wednesday, December 24, 2014

CHRISTMAS GIFT TAGS


I always like making my own gift tags for Christmas presents.  I like the way it makes my gifts just a little more personal.  It's the little things that mean so much!!
I used 2 different Moxxie lines for these gift tags, Musically Inclined and Joys of the Season.  I mixed the papers, diecuts and stickers from each set.  I finished each tag with a bow and a button.

I hope you make some Holiday Gift Tags for yourself! 
Happy Holidays!
xxDaniella

Tuesday, December 23, 2014

CHRISTMAS STOCKING


Christmas is fast approaching!!  Are you ready?  I am just finishing up some decorating and I am done!  Except I have to wrap the presents.  I better get going!

I made this super cute wood stocking to finish my decorating.  It will be hanging on a shelf with other Christmas crafts.
SUPPLIES:


I painted the stocking green and the top piece white.  I added glitter on top of the white paint.

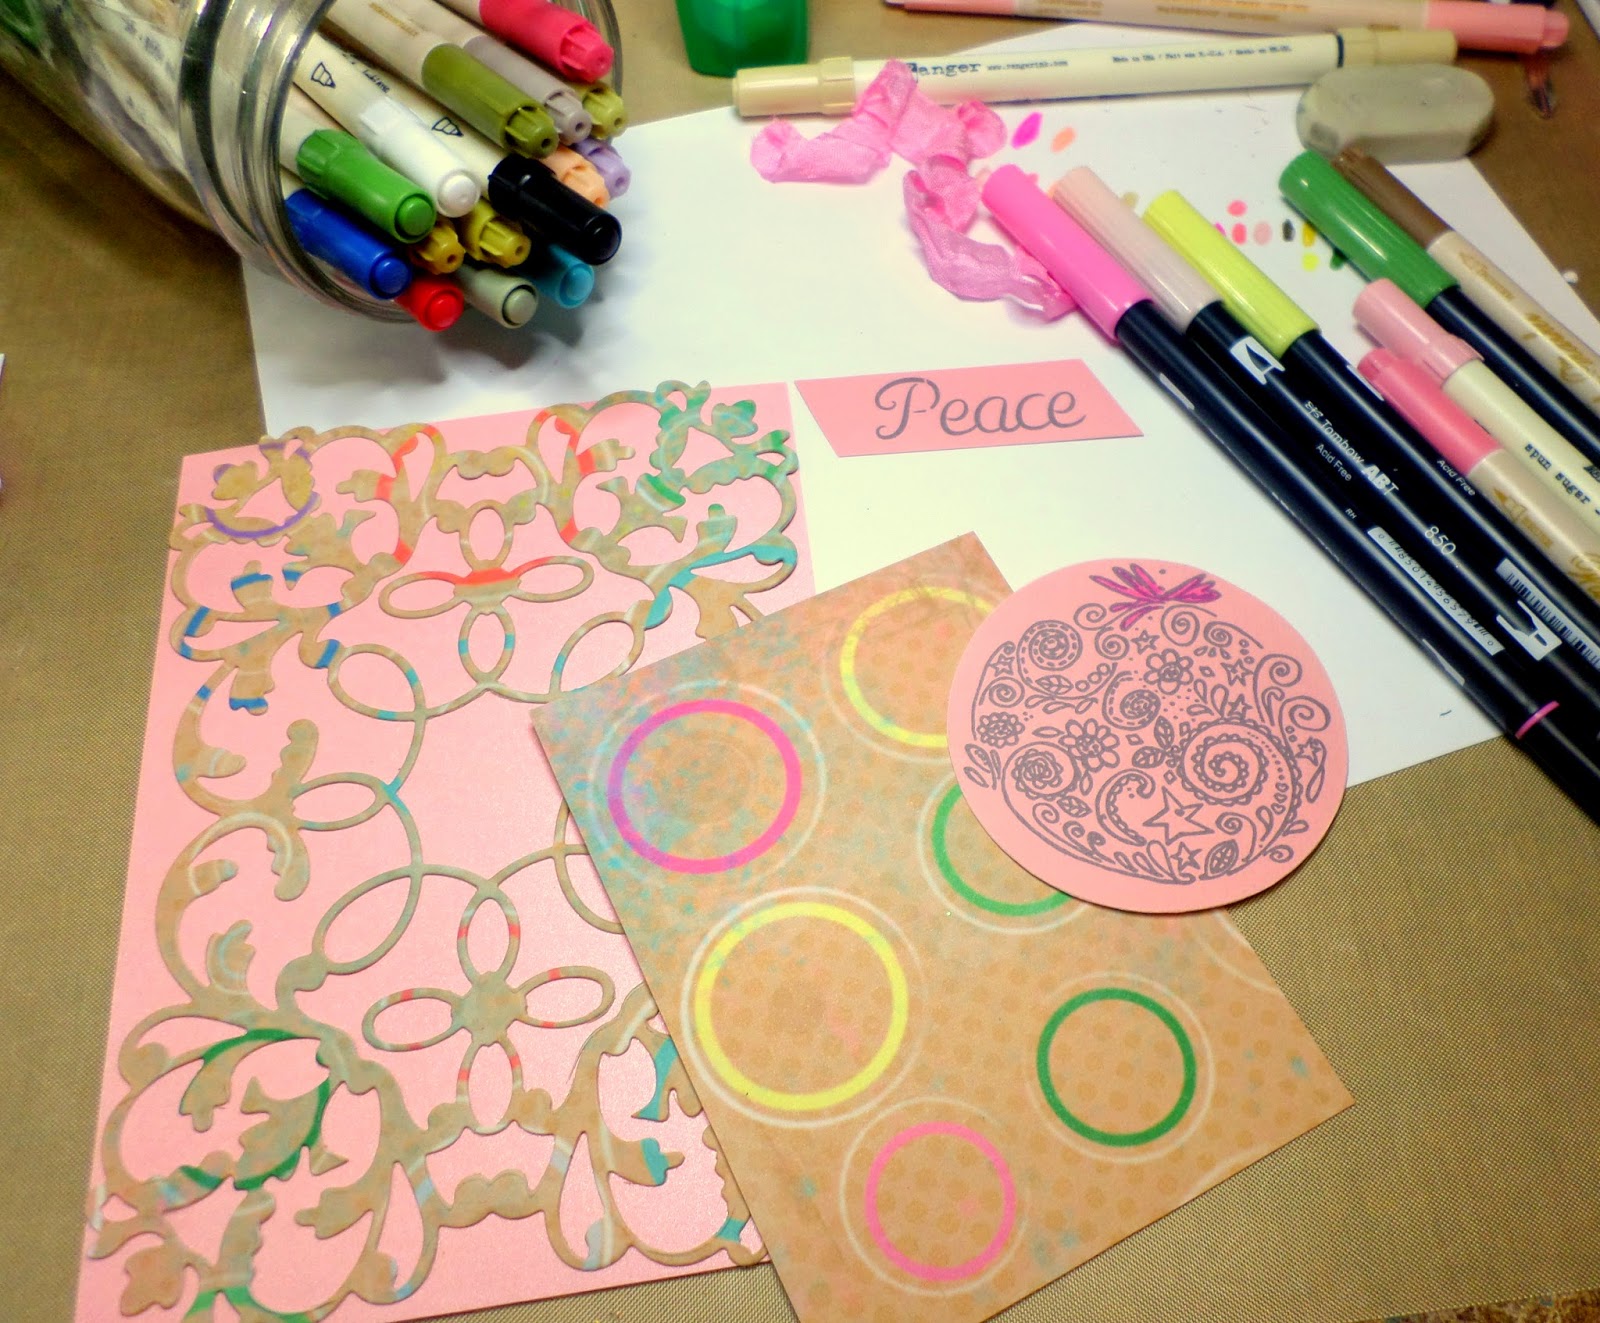
I used some of the gear stamps from the Steampunk's Christmas set, because I thought they looked like candy.  I also used a leaf from the Terri Sproul Leaves set to put on top of the stocking,like holly.  I tried a bunch of different inks to find just the right shade.

I finally settled on the Staz On Cactus Green ink and I used a 2" circle punch to punch out the gears to glue to my wood stocking.  I stamped the leaves with the same ink on white paper.


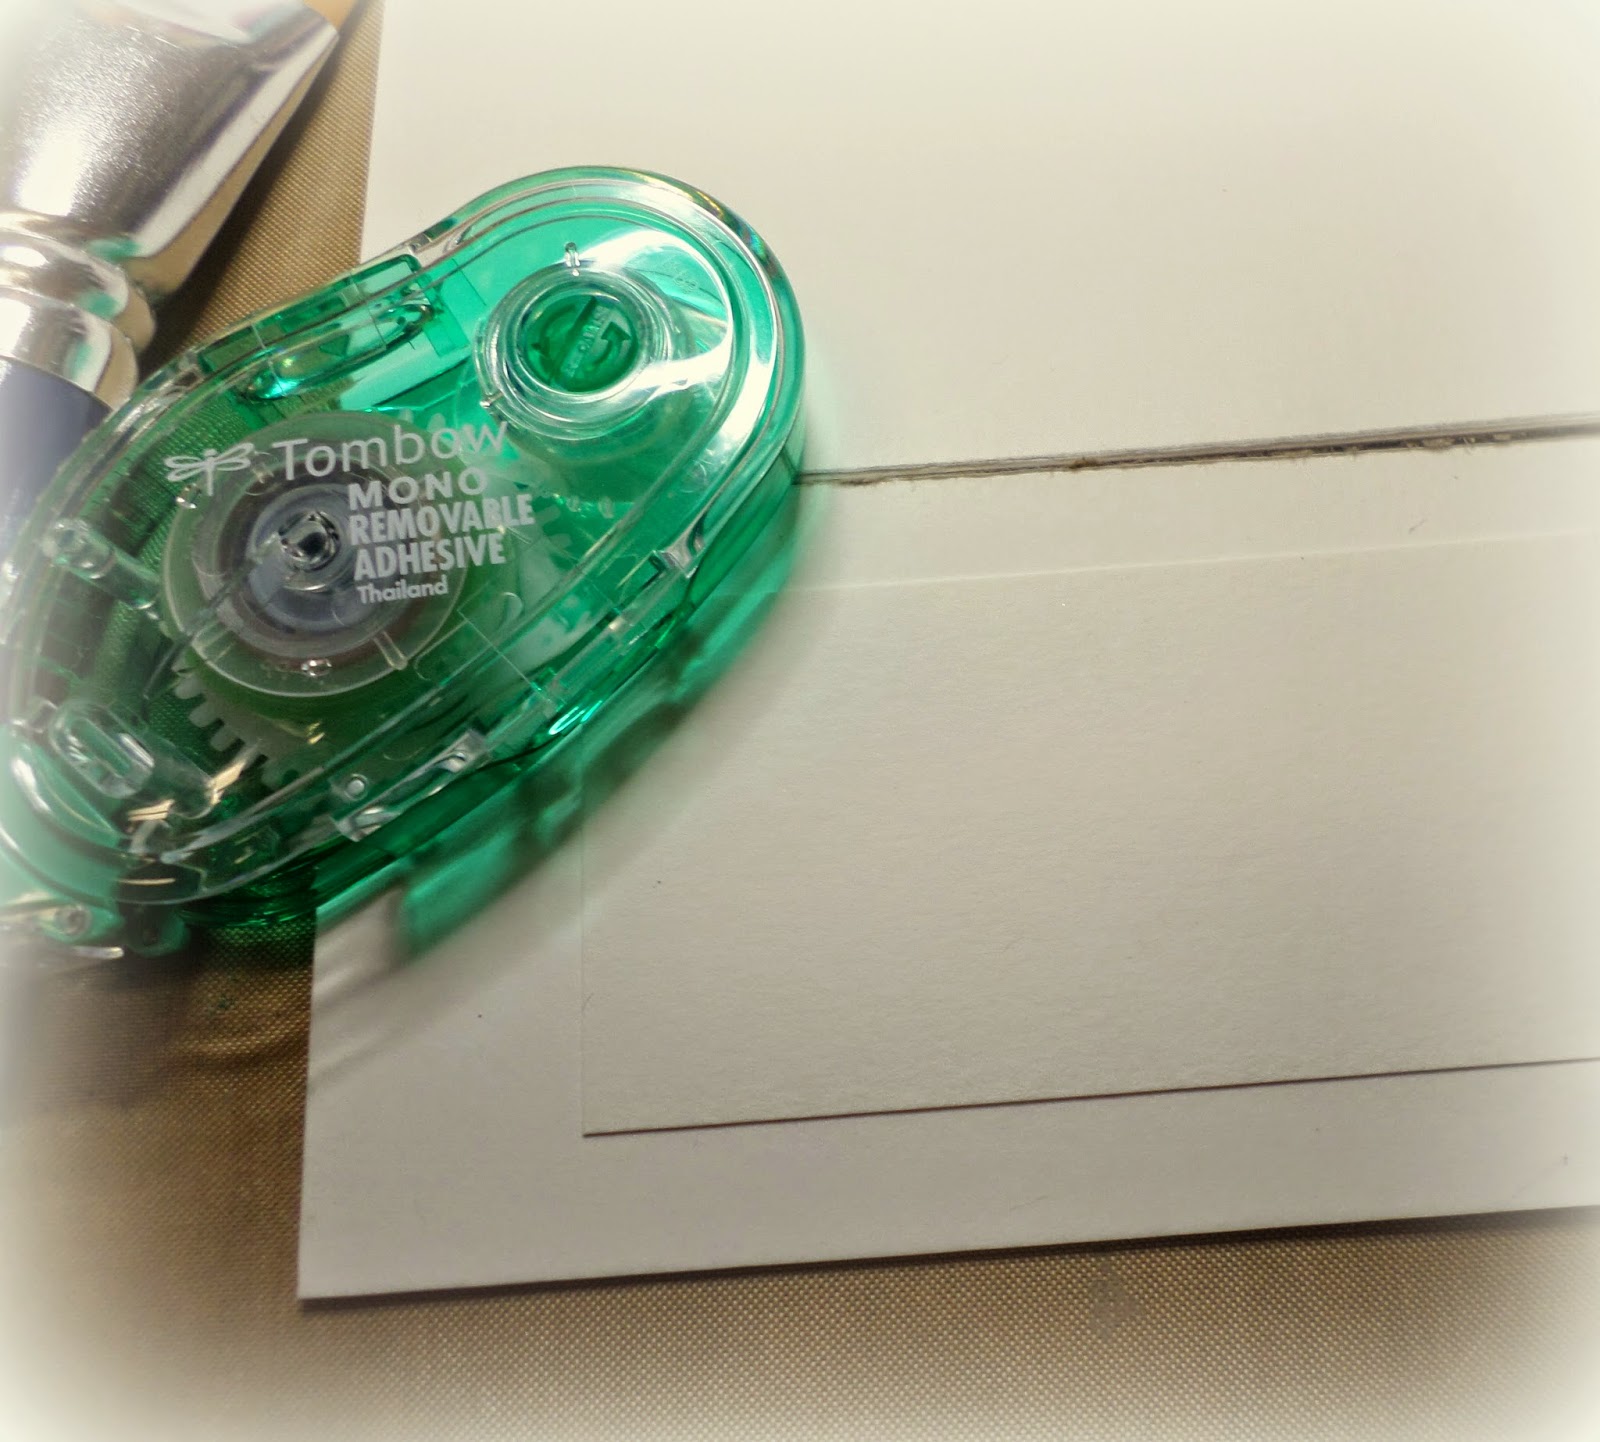
I used a paint marker to make the faux stitching around the stocking.

I LOVE this!!  I glued the "Candy" to the stocking and added some flower gems.  On top, I added the leaves and a bow with a button in the center.

Thank you so much for visiting today!

Wishing you very Happy Holidays!!
xxDaniella

Sunday, December 21, 2014

#christmaslovecampaign


It's almost Christmas!  I love giving this time of year.  My favorite part of Christmas is watching people open the presents I got (or made) for them!!

This tag is going to be given away for the Susan K. Weckesser #christmaslovecampaign !
I started this tag by using The Crafter's Workshop "Beaded Curtain" stencil with red paint.  I added a small doily on top and traced some of the circles from the stencil on it.  I made a # with a marker and used the word "Christmas" from Susan's World of Christmas stamp set and the "Love" is from Susan's An {Artful} Ornament stamp set.  

This snow man is made by Susan.  She is so talented!!  He is on the #christmaslovecampaign blinkie.  I knew he had to be put to good use cuz he's sooooooooooo cute!!  I cut him out and added some pearls to his buttons.

I hope you are sharing some love this Christmas!!

Happy Holidays!!
xxDaniella


Tuesday, December 9, 2014

SUSAN K. WECKESSER #CHRISTMASLOVECAMPAIGN


Susan K. Weckesser has started her annual Christmas Love Campaign!!  Please click the link to read all about this AMAZING labor of love she created!  I KNOW you will want to join in and spread the love!!

I made this tag for for The Christmas Love Campaign.  I intend to use it on a gift for someone special!
I started with Susan's Live In Color Cardstock.  It was a fabulous neutral pattern with a splatter pattern on it.  Then I used Susan's Stencil to put the "25" on the bottom of the tag.  I used 2 of Susan's stamp sets, World Of Christmas and Very, Very Merry.   I colored the tag stamped image with Tombow's Dual Brush MarkersThe edges and stamped images were inked with Ranger Distress Inks.  

I added a little ink splatter to the Merry Christmas stamped image to go with the splatter on the paper.  I finished with gauze, Prima flowers and some Ranger Stickles.

Please visit Susan's blog to read all about #christmaslovecampaign.  I know you will want to join the fun and give a little LOVE!
xxDaniella

Monday, December 8, 2014

STEAMPUNK'D CHRISTMAS CARD


I am sharing a Christmas Card I made for SinCity Stamps today.  I used a technique I learned from Terri Sproul's Tuesday night show.  She does a live "Art Journal" show every week and she shows us many techniques!  Click her link above to find out more.

She showed us the technique I used for this card several times but I never tried it until now.  It is awesome and I know it will be in my "favorite techniques" file for sure!
Supplies:
This technique is like reverse stenciling.
I took out my stencil, paint and baby wipes.  I loved the flourish of the fish's tail so I taped off the rest of the fish.  I painted my whole piece of paper and let it dry.  I put my stencil on top and used the baby wipes to wipe off the paint that was inside the stencil.


How cool is that???  I can't believe I didn't try it sooner!  The flourishes look like flowers, I think.  

I stamped the Merry Christmas directly on the reverse stenciled, dry, paper.  I love how crisp these stamps are!!

I also stamped the postal stamp on some patterned paper to add to the top right corner.
I matted the reverse stenciled and stamped paper and added a bow with a button.

I hope you try this technique.  If you do be sure to let Terri know, I'm sure she'd love to see!!  Check out her Art journal group, All Things Terri Sproul!
xxDaniella


Sunday, December 7, 2014

THE ROBIN'S NEST BLOG HOP WINNER!!


Thank you to everyone who commented during The Robin's Nest blog hop last Sunday!  The winner of these AWESOME Christmas Dew Drops is.........
Christmas Dew Drops
LESLIE from L Rose Creations!  Congratulations Leslie!! 

Happy Holidays!
xxDaniella

Friday, December 5, 2014


Hello and welcome to the Moxxie Holiday Challenge and Hop!
Today our Muses have many eye-popping designs to inspire you. We also have a fun challenge and a Prize! 

I made some treat holders using the Happy Pawlidays line.

Aren't they fun???

Our theme this month is Holiday/Winter/Christmas
and the prize, you say? 
Oh just one of these amazing lines!


 For all your furry friend's fun, holiday antics!
This line is perfect for documenting all of that holiday fun, but it's not just for your pets. Check out the awesome projects our designers created with this line, pets or no this is perfect for the holidays!

But if you're not in the market for this fun holiday line you can opt for the gorgeous Winterland!

Details on how to win are below and here is our fantastic line-up of inspiration:


 To be eligible to WIN all you have to do is comment on the Moxxie blog.
(US addresses only please) 

Extra chances to win include:
  Comment- on any (or all) of the designers blogs
  Facebook- share the blog hop post (let us know by leaving a link on the Moxxie blog)
  Pinterest- pin any (or all) of these wonderful projects (leave a link for each pin on the Moxxie blog)
  Challenge- Enter your holiday project in our challenge! 3 extra entries if you use MOXXIE product! Link directly to your project or project post. (link up using the inlinkz tool at the bottom of this page)
Commenting and Challenge end Dec 31st. 
Winner announced Fri. Jan 2nd.

Thanks for visiting and good luck!!
xxDaniella

Saturday, November 29, 2014

THE ROBIN'S NEST CHRISTMAS BLOG HOP!


Start at The Robin's Nest Blog and follow the links to see all of our projects!

I made a Christmas card for the hop.


AND there is a PRIZE on each designer's blog!   Giving you many chances to win!!
Christmas Dew Drops
The prize is a bottle of Christmas Dew Drops!

All you have to do is become a follower of my blog and leave a comment!  Super easy!

Enjoy visiting the other Designer projects!!  
xxDaniella

Friday, November 28, 2014

WORD CHRISTMAS TREE


I love using my stamps in ways they weren't intended.  There were so many words in the Christmas Stamp Kits from Susan K. Weckesser that I wanted to use them all!  But how???  A Word Christmas Tree!!
Super FUN!

I gathered my supplies, stamped all the words on white cardstock and cut them out.

SUPPLIES:


I adhered the words in a triangle shape on white cardstock.  I then applied the Evergreen ink to the words and the cardstock.

Next, I diecut branches from the pinecone die and added Stickles to them and the words.

While the Stickles were drying, I cut the cardstock and adhered it to the card base.  On the top (red) cardstock I traced the shape of the tree.  I used the flower shape on the stencil and with a white pen to draw on the red cardstock.  I thought the flowers looked like snow :)  Then I fill in some areas with white dots.

The bird is from the "Very, Very Merry" Stamp Set.  I thought he was perfect for the top of the tree.  I cut him out and colored some parts of him.  I added Stickles to make him shine like a star.  I cut my branches a little smaller and glued them all over the tree.

I added pearls, to look like garland and ornaments, on the tree last.  I put a bow between the tree and the word Peace.  The Peace word was the tree holder.

I am going to add this card to the Moxie Fab "Tree-mendous" Tree Challenge too!!

Thanks for visiting!!
xxDaniella

Tuesday, November 25, 2014

AHOY!


A friend of mine asked me to make a Pirate card for a boys birthday party.  I knew I had the perfect paper for the job!
 Moxxie's "Nautical" paper line has everything for a budding pirate!  Papers, diecuts and stickers in wonderful styles and colors.

I used a Tim Holtz Blueprint stamp and die set for the skull and added a piece of red fabric like a pirate.  I think it made him a little less scary.  Some gauze and a diecut and this card was finished!  

Have an awesome day!! Ahoy!!
xxDaniella

Monday, November 24, 2014

THANKSGIVING PLACE CARDS


I am having a total of 9 people for Thanksgiving dinner this year and thought pretty place cards would be perfect for my table.  I only have 4 so far, I better get busy!!
Materials:


Score both sides of the cold press block in the center. 

By scoring (not cutting) the cold press block on both sides, you get a perfectly folded card.

I squeezed some paint on my craft mat and mixed them to tone down the yellow and make the orange.

Using the removable adhesive I put a 1.5" x 2" piece of cardstock in the center of one side of the place card.  This space will be saved for the names.

Use all of the colors to paint the blocks, make sure to show the different shades of yellow, orange and red.  When the paint is dry, stamp the leaves with brown ink and let them dry.  Then remove the cardstock from the center.

Add the names and embellish the place cards with pearls and leaves.

Thanks for visiting!  Have a happy and safe Thanksgiving!
xxDaniella


Tuesday, November 18, 2014

A BURLAP CHRISTMAS TREE!

I have exciting news!  I am a finalist for the Tombow USA Design Team!
TOTALLY AWESOME!!

Tombow sent me a product to use in my finalist project.  They sent me their super awesome Xtreme Adhesive.
This adhesive is AMAZING!  It is the strongest adhesive I've ever used!  It even works on hard to glue surfaces like burlap, cork, wood, fabric and glass!

I used it to make this burlap Christmas tree.
Can you believe I made this tree using the Tombow Xtreme Adhesive Runner?  I never would have tried an adhesive runner on burlap!  But I did!  And it worked!  I also used Tombow Mono Multi Liquid Adhesive on the ribbons and bow.  I have used this adhesive for a long time.  It is another amazing product!  If you put a few drops on something (like my ribbons) and let it dry it becomes a repositionable adhesive.  If you use it wet, it is permanent.  How amazing is that???

I made a Snapguide tutorial on how I made this tree.  


Check out How to Make a Burlap Christmas Tree by Daniella Hayes on Snapguide.

Thanks for visiting!!  Wish me luck!
xxDaniella

Friday, November 14, 2014

GRADUATION!


Finally!  I'm getting around to getting Robert's graduation pictures in place.  I have to get his 12th grade memory book finished, a little album I'm making for him about his senior year and pages for our yearly scrapbook.  

I knew I had to get these things done now because in a week I have to start making Holiday Cards! 

And I have the perfect papers for the job.  Moxxie has several lines for Graduating, or School.  They are awesome!  I use paper from the Senior Year and Graduation Day lines.  They go perfectly together!
Supplies:
  • Moxxie "Graduation Day" Paper GD1354
  • Moxxie "Keys To Success" Paper GD1355
  • Moxxie Graduation Day Cardstock Stickers 
  • Moxxie "With Honors" Paper SR514
  • Moxxie "Congratulations" Paper SR516
  • Moxxie Senior Year Cardstock Stickers
  • Moxxie Alpha Stickers~Black
I Layered the papers and did some stitching.  Then I added some spray ink (of course!).I cut the different papers in flag/banner shapes and tucked them behind the picture.  I embellished with Moxxie stickers and sequins and added the year to a glitter frame.


Please check for Moxxie at your local Scrapbook Store, they have designs for every single occasion you can think of!  
xxDaniella

Friday, November 7, 2014

MOXXIE MUSE HOP!

Welcome to the Moxxie hop and challenge!  We have AWESOME projects to share with you today!! 

 I made 2 cards using the brand new Moxxie "Winterland Collection".

Isn't it so pretty?  I love the different blues, pinks and purples! 

For the card on the left I used the "Slip Slidin'" paper A and B sides and the "Winterland Diecuts".  I love the shape and sentiment on the diecut.  I also used a Sizzix Die and made that 3D snowflake.  Glitter and pearls finished it off.

The card on the right uses the "Snow Buddy" and "Ice Princess" papers.  The pink paper was embossed with an Anna Griffin embossing folder and sanded.  I LOVE the white core of the paper!  I cut a strip off the "Winterland Cutouts" paper and put it on the right side.

Now check out the other projects as you hop along with us!

And of course there is a PRIZE involved!
None other than the amazing New Winterland!!!
This line has a fantastic color combo, fun patterns and cute embellishments for all of your wintertime activities!


Details on how to WIN this line are below.


 To be eligible to WIN all you have to do is comment on the Moxxie blog.
(US addresses only please) 
Extra chances to win include:
  Comment- on any (or all) of the designers blogs
  Facebook- share the blog hop post (let us know by leaving a link on the Moxxie blog)
  Pinterest- pin any (or all) of these wonderful projects (leave a link for each pin on the Moxxie blog)
  Challenge- Enter your card in our challenge! 3 extra entries if you use MOXXIE product! Link directly to your project or project post. (link up using the inlinkz tool at the bottom of this page)
Commenting and Challenge end Nov 30th.

Have Fun and Good Luck!
xxDaniella

Thursday, November 6, 2014

AN {ARTFUL} ORNAMENT STAMP SET

The holidays are fast approaching, are you ready??  I am SO not ready!  I have to get busy!!

A few years ago I had Pink Christmas.  With the exception of our sentimental ornaments, everything else was pink.  It was awesome!  I made a "Kissing Ball" for my foyer that was pink and that is what I thought of when I saw this new Susan K. Weckesser stamp set "An {Artful} Ornament".
SSSOOOooooo  CUTE!!

I made a Pink Christmas card with this stamp set.
I gathered my supplies first.  I picked papers from Susan's Live In Color Scrapbook Paper Collection that were tan and pink.  I loved the circles and thought they would go well with the stamps.  I diecut the same paper and matted it on pink Core'dinations Cardstock.  I stamped on the same pink paper. 

I colored the ornament with my Tombow markers.  I just outlined the swirls and colored in some areas.  I finished the coloring with some Stickles glitter glue.  I love glitter!

I finished the card with some mini pearls,pink seam binding and a pink butterfly.

This card is making me think I need another Pink Christmas this year!
What do you think?

Thanks for visiting!  Have an awesome day!
xxDaniella

Thursday, October 30, 2014

A SILLY LITTLE CARD


Sometimes a silly card is the perfect thing to make!  Just something to make the recipient smile :)

My baby, my first born, turned 18 this week.  This is still blowing my mind!!  18??  And even though he can vote for the leader of the free world, and is a college freshman, he is still a kid.  He LOVES zombies and video games and movie nights at home.  Such a sweetie!  So I made this card for his birthday because I knew it would make him laugh.
Just a little something to make him smile!  I used the perfect paper for the job, Moxxie's Zombie Attack line.  I made the base and crackle layers of the card from both sides of the Dead Man Walking paper.  I used the Zombie Hunter sticker on top of the red paper and distressed it.  The black flags are also from the sticker sheet.  I used bakers twine to hang them from.  I thought he would get a giggle at being called a Zombie Hunter, and he did!!

Make something silly today to make someone smile!!  :)
xxDaniella